





If you have a pile of leftover fabric tucked away from previous craft projects, this DIY fabric scrap pumpkin garland is such a lovely way to put it to use for fall.
The finished garland is made from little soft fabric pumpkins strung together with rustic twine, creating a cozy handmade decoration that looks especially pretty draped across a mantel.
And because every pumpkin can be made from a different fabric, this is one of those fall fabric projects that is incredibly easy to customize.
Use burnt orange, mustard and brown fabrics for traditional autumn decor, choose creams and muted plaids for a neutral look, or simply raid your fabric scraps and see what works together.
Best of all, the pumpkins do not need to look perfectly identical.
A mixture of colors, patterns and slightly different shapes is exactly what gives a DIY fabric garland like this its charming homemade appearance.
What You’ll Need
You can make this pumpkin garland almost entirely from fabric and craft supplies you may already have.
For a similar look, gather:
- Fabric scraps in fall colors and patterns
- Polyester stuffing or filling from an old cushion
- Strong sewing thread
- Sewing needle
- Scissors
- Twine, jute cord or ribbon
- Small sticks or cinnamon sticks for pumpkin stems
- Hot glue gun and glue sticks
- Green, brown or natural raffia, ribbon or yarn, optional
- Fabric marker or chalk
- A round plate, bowl or template for tracing circles
You do not need to buy matching fabric.
In fact, this project looks particularly pretty when the pumpkins are made from an assortment of fabrics.
Old shirts, pillowcases, tea towels, quilting remnants and other clean fabric scraps can all potentially work.
Step 1: Choose Your Fall Fabrics
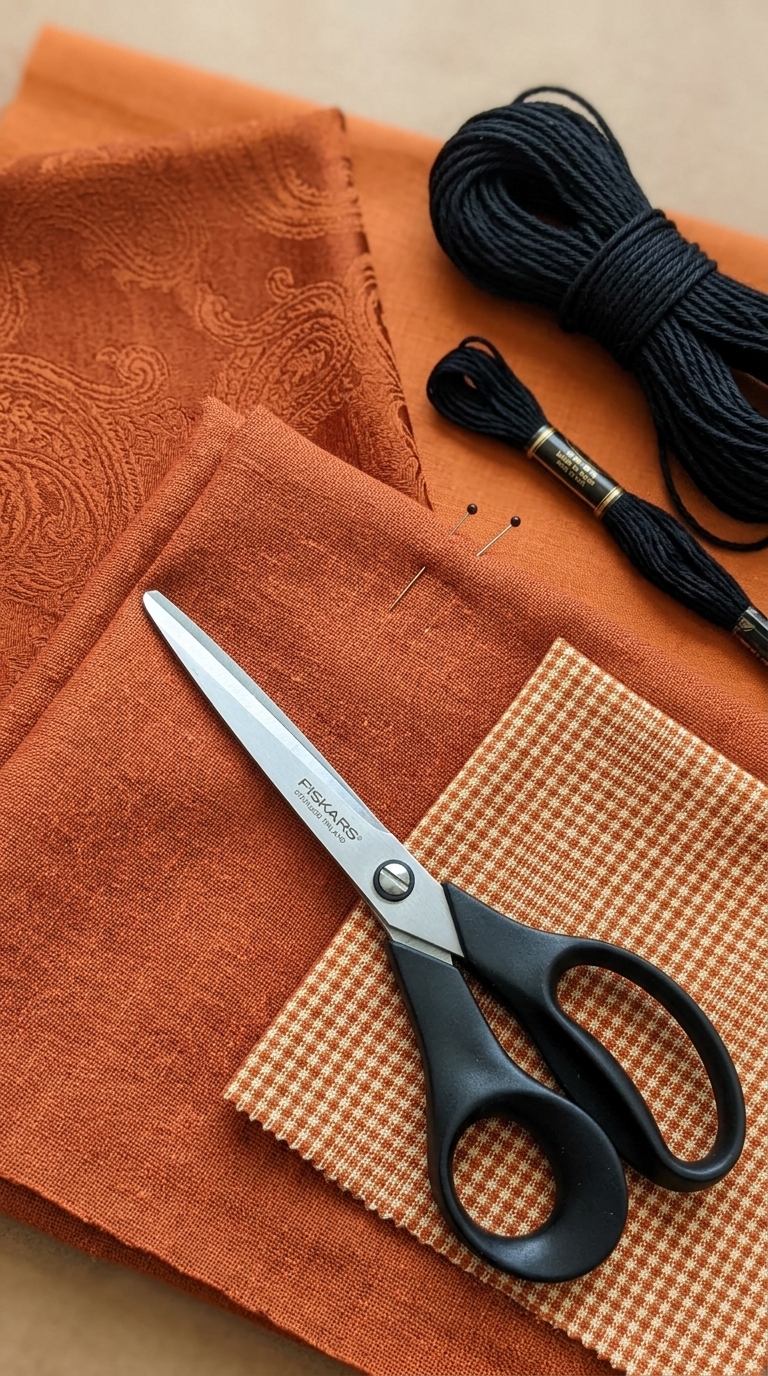
Start by laying all your fabric scraps out together.
Rather than choosing each fabric individually, look at them as a complete color palette.
For a traditional fall pumpkin garland, try combining shades such as:
- Burnt orange
- Rust
- Mustard yellow
- Warm brown
- Olive green
- Cream
- Burgundy
- Muted plaid
You can mix solid colors with small patterns to keep the garland interesting.
Florals, gingham, plaid and tiny prints can all work beautifully.
If you prefer neutral fall house decor, use cream, oatmeal, beige, soft brown and faded green instead.
What Fabric Works Best?
Cotton is probably the easiest fabric to work with because it holds its shape nicely without being too bulky.
However, this is a very forgiving project.
Linen, flannel and lightweight upholstery scraps can also work.
Avoid extremely thick or stiff fabrics for very small pumpkins because they can become difficult to gather tightly at the top.
Step 2: Cut Your Fabric Circles
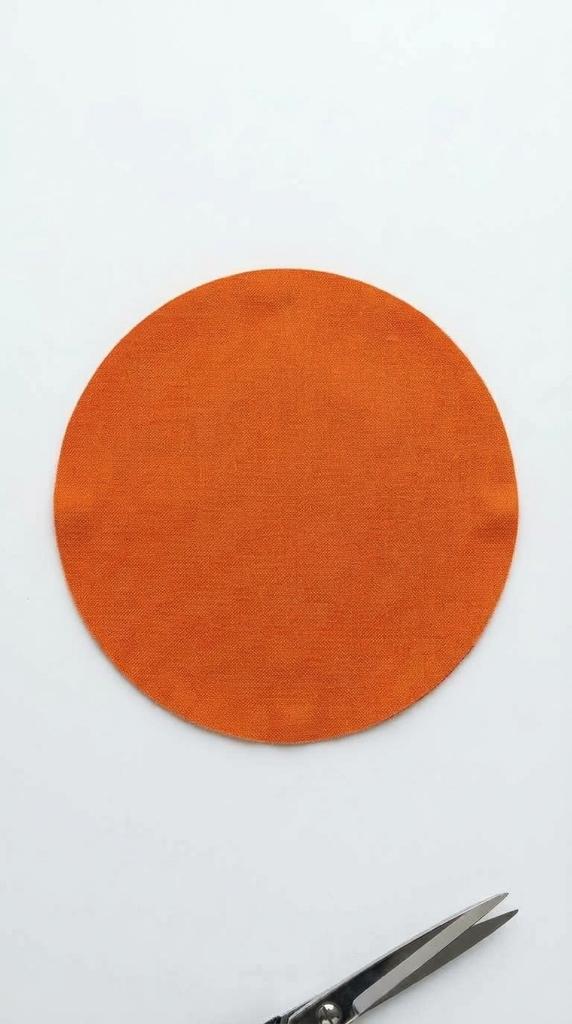
Place a bowl or plate upside down on the back of your fabric and trace around it.
Cut out the circle with fabric scissors.
Do not worry if your circle is not absolutely perfect.
Once it is gathered and stuffed, small imperfections will disappear.
For a garland, smaller pumpkins generally work better than large ones because you want them to hang comfortably without making the finished garland too heavy.
Try making one test pumpkin first.
Once you are happy with its finished size, use that fabric circle as your template for the others.
Make the Pumpkins Slightly Different Sizes
You can make every pumpkin the same size, but a few subtle variations can make the garland look more handmade.
Try cutting most of your circles from the same template, then make two or three slightly smaller.
When everything is strung together, those differences create a more relaxed arrangement.
Step 3: Sew Around the Outside Edge
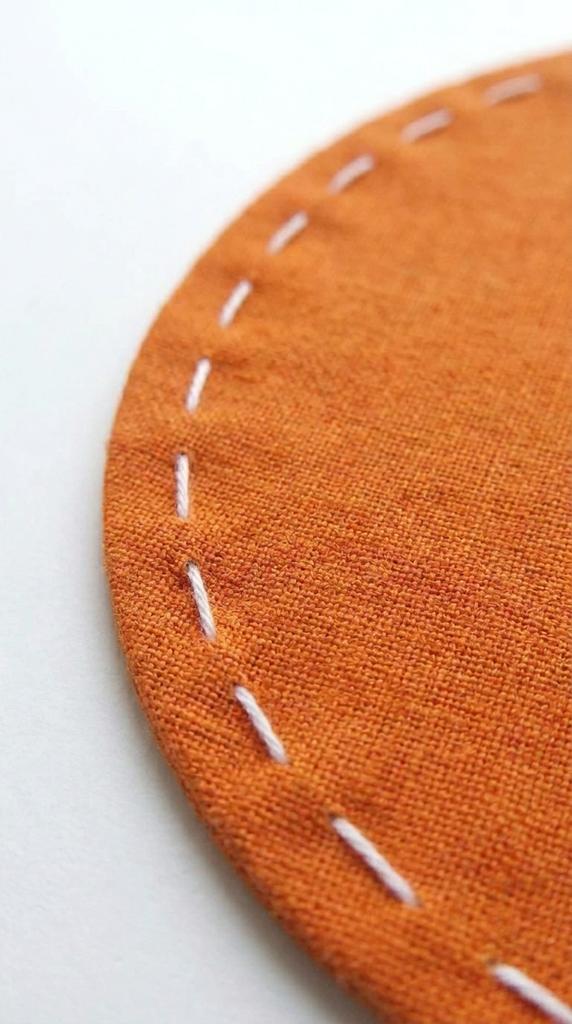
Thread your needle with a strong sewing thread and tie a knot at the end.
Using a simple running stitch, sew all the way around the outer edge of your fabric circle.
Keep your stitches reasonably large.
You do not need beautiful sewing here because the stitches will eventually be hidden.
Once you have sewn around the entire circle, do not knot or cut your thread yet.
Instead, gently pull it.
The fabric will begin gathering together and forming a little pouch.
Leave the opening wide enough to add your stuffing.
Step 4: Stuff Your Fabric Pumpkin
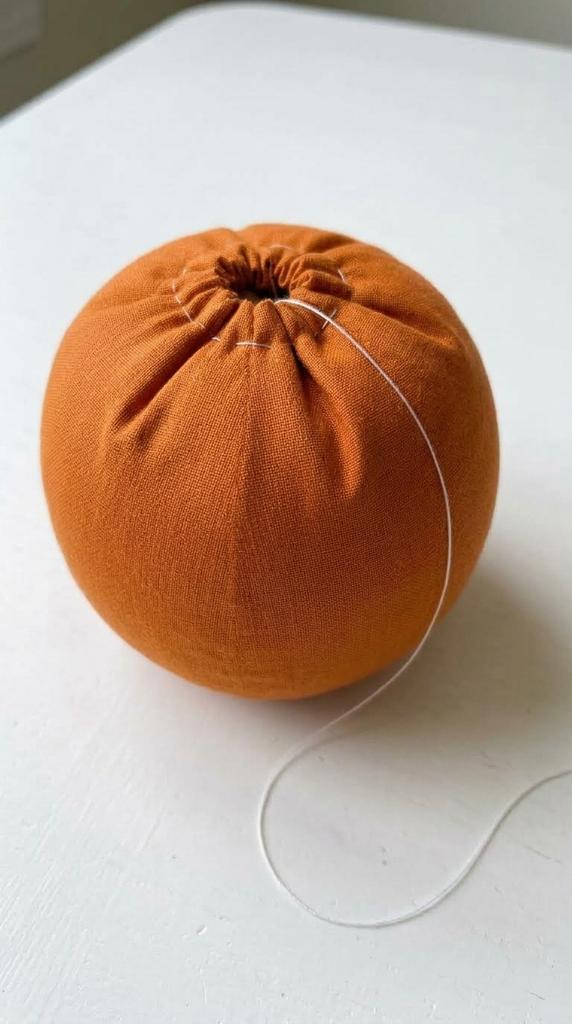
Add small amounts of polyester filling through the opening.
Push the stuffing toward the outer edges as you go.
The goal is to create a soft, plump pumpkin rather than an extremely firm ball.
Try not to overstuff it.
If the pumpkin is packed too tightly, creating the characteristic pumpkin sections later becomes much harder.
Once you are happy with the shape, pull your thread firmly so the opening closes.
Add several secure stitches across the opening before knotting your thread.
Do not worry if the gathered area looks messy.
The stem will eventually cover most of it.
Step 5: Give the Pumpkin Its Shape
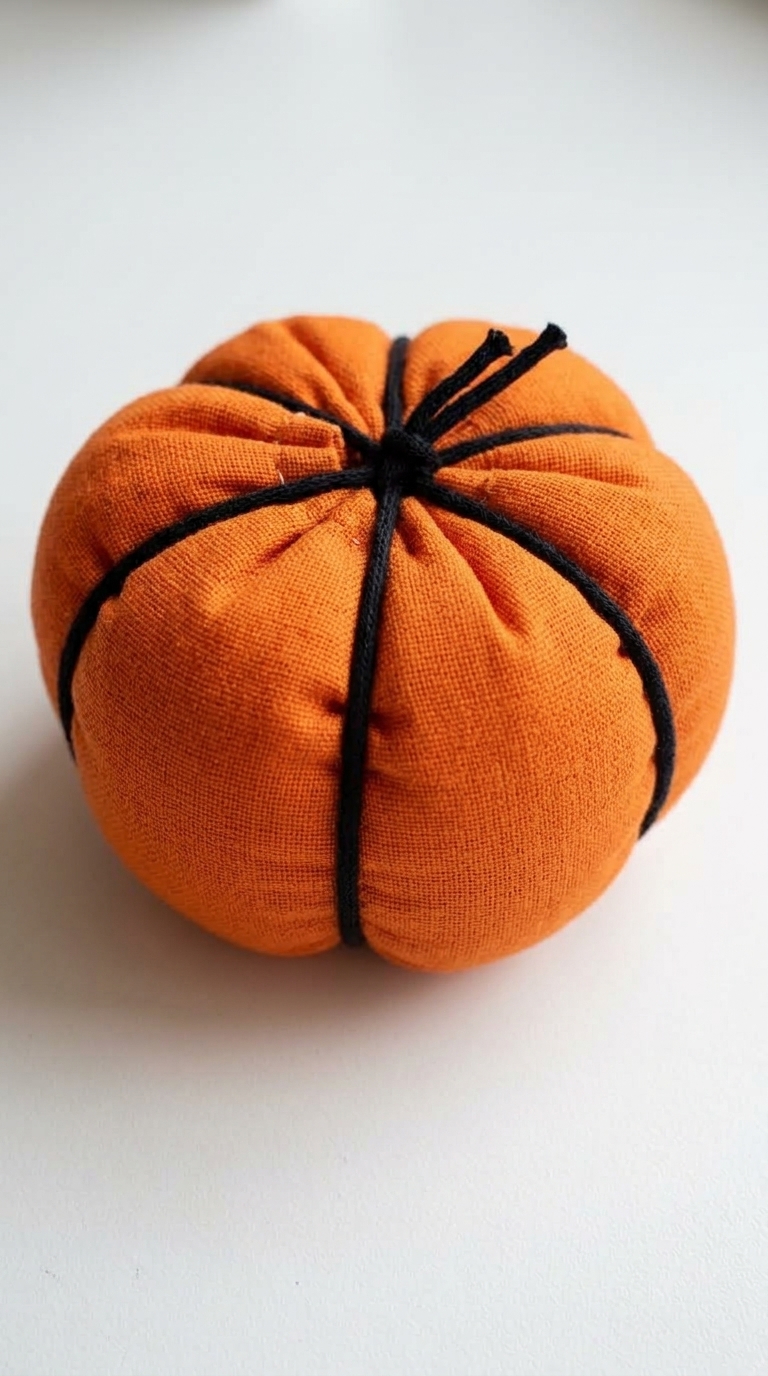
At this stage, your fabric pumpkin will probably look more like a little stuffed ball.
You can leave it this way for an extra-simple garland, but adding pumpkin sections makes it look much more convincing.
Thread a long needle with strong thread, embroidery floss or thin yarn.
Push the needle through the center of the pumpkin from top to bottom.
Bring the thread around the outside and push it through the center again.
Pull gently.
The thread will create a little indentation in the fabric.
Repeat this several times around the pumpkin, spacing the sections fairly evenly.
You will gradually see that recognizable pumpkin shape appear.
Usually around five to eight sections will be plenty, depending on the size of your pumpkin.
Do not pull so tightly that the fabric puckers excessively.
You only need enough tension to create soft grooves.
Step 6: Add a Rustic Pumpkin Stem
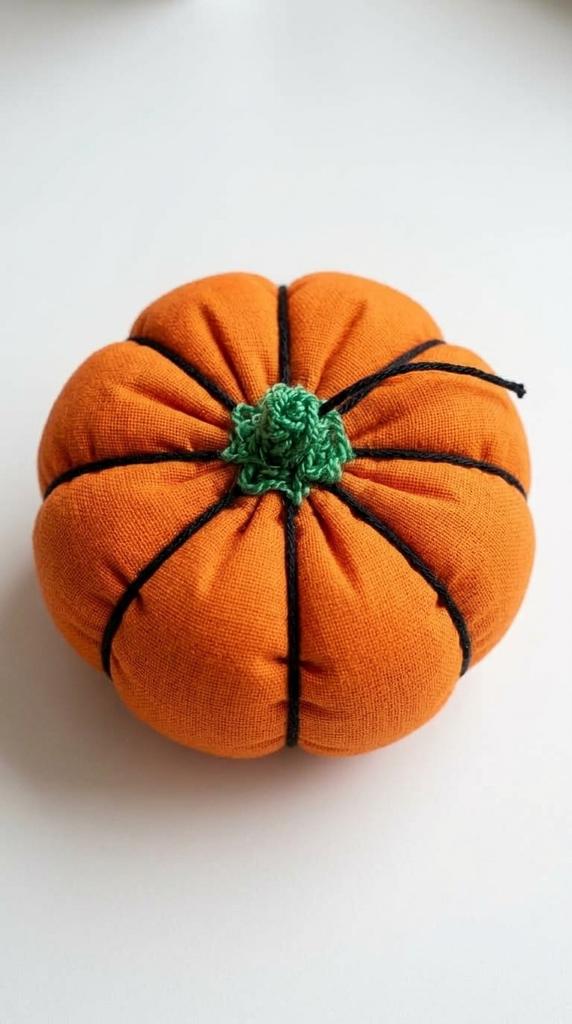
One of the easiest ways to make the pumpkins look charming and rustic is to use tiny pieces of real twig for the stems.
Collect a few small fallen sticks and cut or snap them into short sections.
Make sure they are clean and completely dry before using them indoors.
Place a small amount of hot glue over the gathered fabric at the top of your pumpkin and press the twig into position.
Hold it there until the glue sets.
You could also use:
- Cinnamon stick pieces
- Rolled brown felt
- Wooden craft pieces
- Thick jute cord
- Brown pipe cleaners
- Small pieces of cork
A tiny cinnamon stick is particularly cute if you want the garland to feel extra autumnal.
Step 7 (Optional): Add Little Leaves or Bows
This step is completely optional.
The fabric pumpkins already have plenty of texture, so you do not necessarily need additional embellishments.
However, a tiny piece of green felt tucked beside the stem can look like a pumpkin leaf.
You could also tie a very small piece of raffia around each stem.
For farmhouse-style fall decor, try thin gingham ribbon.
For something simpler and more rustic, stick with natural jute or leave the stems completely bare.
Step 8: Make Enough Pumpkins for Your Garland

Now repeat the process until you have enough pumpkins to fill the length of your garland.
Before making dozens of them, decide roughly where you want to display it.
A garland for a small shelf might only need five or seven pumpkins.
A mantel garland will probably need considerably more.
Lay your finished pumpkins across the mantel or table as you work so you can see how much space they cover.
Remember that you do not necessarily have to fill every inch with pumpkins.
Leaving small sections of twine visible between them can make the finished garland feel lighter and less crowded.
Step 9: Arrange Your Fabric Pumpkins
Before attaching anything, lay all your pumpkins out on the floor or a large table.
This is your chance to experiment with the order.
Try not to place identical colors or patterns directly beside each other.
If you have three orange pumpkins, for example, separate them with cream, plaid or green pumpkins.
Mix smaller pumpkins between larger ones.
You want the colors to feel balanced across the entire garland rather than having all the darker fabrics gathered at one end.
Take a quick photo of your arrangement once you are happy with it.
That way, you can easily recreate the same order when you start attaching everything.
Step 10: Attach the Pumpkins to Your Garland
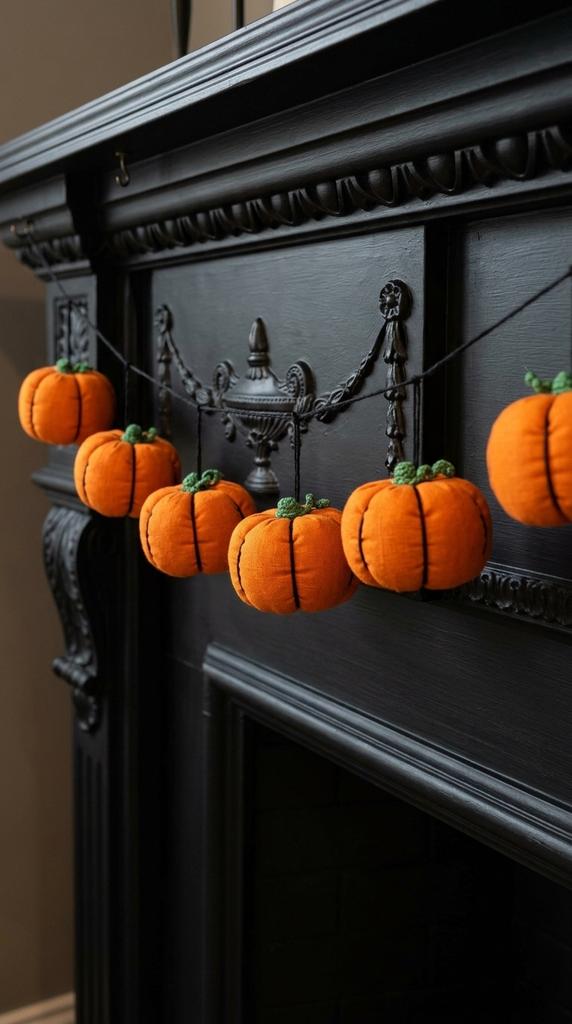
Cut a length of twine slightly longer than you think you will need.
It is always easier to trim the ends later.
Leave a generous length of empty twine at both ends so you have plenty of room for hanging or tying the garland.
There are a few ways you can attach the pumpkins.
For the simplest option, carefully secure the twine to the back or top of each pumpkin with a small amount of hot glue.
Another option is to stitch the twine to the back of each pumpkin.
This takes a little longer but creates a very secure garland.
Space the pumpkins evenly, or leave slightly different gaps between them for a more relaxed handmade look.
Step 11 (Optional): Add Fabric Scraps Between the Pumpkins
If you have lots of tiny fabric remnants left over, do not throw them away.
Cut them into narrow strips and tie them directly around the twine between your pumpkins.
This adds even more texture and turns the project into a true fabric scrap garland.
You could alternate between:
pumpkin, fabric strips, pumpkin, fabric strips.
Or only add scraps in a few places.
Frayed edges are completely fine.
In fact, slightly frayed cotton strips can make the garland feel softer and more rustic.
You can also mix in short pieces of lace, ribbon, burlap or raffia.
Step 12: Style Your Pumpkin Garland on a Mantel
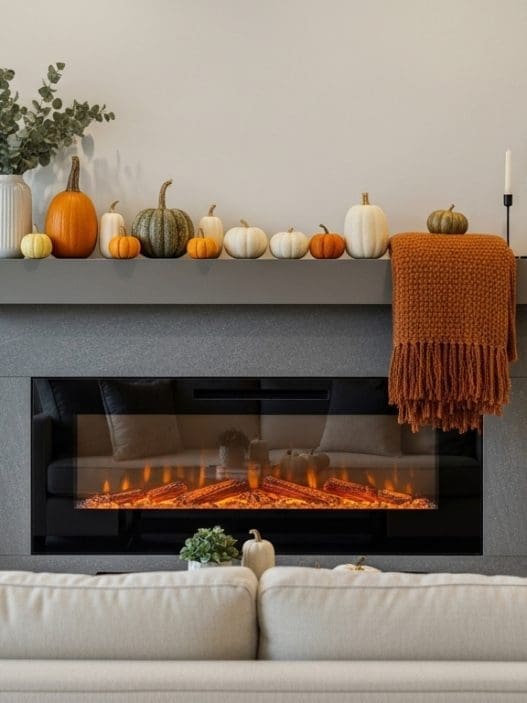
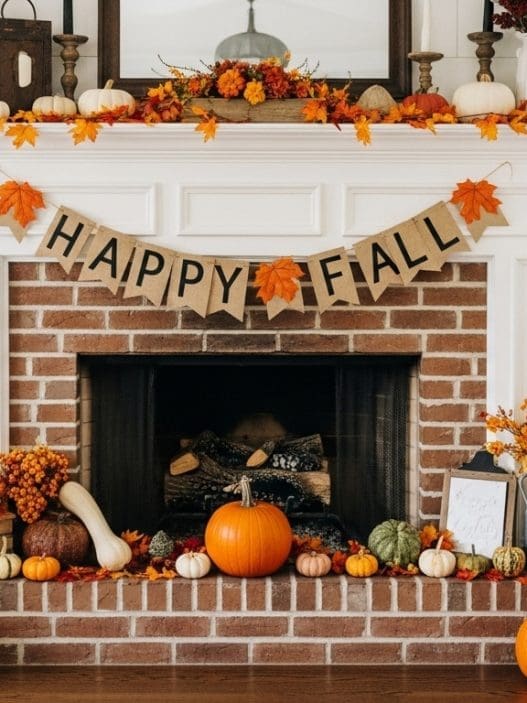
A mantel is probably one of the prettiest places to display this fall fabric garland.
Instead of pulling it perfectly straight across the mantel, allow it to dip gently in the center.
That slight drape gives the pumpkins room to hang naturally.
Then layer a few simple autumn decorations around it.
Try adding:
- Small real or faux pumpkins
- Brass candlesticks
- Battery-operated taper candles
- Dried leaves
- A vase of fall branches
- Amber glass bottles
- Vintage books
- A simple fall wreath above the fireplace
Because the garland already contains lots of pattern and texture, you do not need to fill every inch of the mantel.
A few carefully chosen pieces will usually be enough.
Keep fabric garlands well away from open flames, hot surfaces and anything that could scorch the material.
How Many Pumpkins Do You Need for a Mantel Garland?
The number will depend on the width of your mantel and the size of your fabric pumpkins.
For small pumpkins, somewhere around 9 to 15 is a useful starting point for a typical mantel.
However, I would avoid making them all before checking the spacing.
Make five or six pumpkins first and arrange them across part of your mantel.
This gives you a much better idea of how many you will actually need.
If you want a very full garland, position the pumpkins close together.
For a simpler look, leave several inches of visible twine between each pumpkin.
How to Make a No-Sew Fabric Pumpkin Garland
If sewing is not your thing, you can still recreate the general look.
One option is to place stuffing in the middle of a fabric circle, gather the material around it and secure the top firmly with a small elastic band.
Cover the elastic with twine, ribbon or the pumpkin stem.
You can then wrap strong thread or twine around the outside to create pumpkin sections.
The finished pumpkins may look slightly different from sewn versions, but once they are grouped together on a garland, they can still make a really cute fall decoration.
Make a Rag-Tie Pumpkin Garland
For an even easier DIY fabric garland, skip the stuffed pumpkins completely.
Cut your fall fabric into long narrow strips.
Tie the strips closely together around a piece of twine, mixing orange, cream, brown, plaid and patterned fabrics as you go.
Then add small pumpkin shapes between groups of fabric strips.
You could use wooden pumpkin cutouts, felt pumpkins or flat fabric pumpkins.
This is a great option if you have lots of very small scraps that are not large enough to make stuffed pumpkins.
Easy Ways to Customize Your Fabric Pumpkin Garland
One of the nicest things about fall fabric projects is being able to coordinate them with the colors you already use in your home.
Make It Neutral
Use cream, beige, oatmeal and light brown fabrics.
Mix linen with subtle plaid and add natural twig stems.
Hang the finished garland from simple jute twine for understated fall decor.
Make It Traditional
Use classic pumpkin orange with mustard, rust, burgundy and brown.
Plaid fabric works particularly well with this color palette.
Add cinnamon-stick stems and a little raffia for a warm, traditional autumn look.
Make It Farmhouse Style
Mix cream and orange pumpkins with gingham, ticking stripes and small checks.
Use jute twine for the garland and add small raffia bows between a few of the pumpkins.
Make It Colorful
There is absolutely no rule saying fall pumpkins have to be orange.
Try mustard yellow, dusty pink, burgundy, sage green and deep blue.
This can be a fun way to make your fall decor coordinate with the room rather than introducing lots of bright orange.
Make It From Old Clothes
Before buying fabric, look through clothes or household textiles you were already planning to recycle.
An old plaid shirt could make several tiny pumpkins.
So could a damaged tablecloth, linen napkin or cotton pillowcase.
Using several familiar fabrics can give the finished garland even more character.
Other Places to Hang a DIY Fabric Garland
You do not need a fireplace to recreate this idea.
Try hanging your pumpkin garland:
- Across a console table
- Along a bookshelf
- Across a kitchen hutch
- Around an entryway mirror
- Across a window
- On a staircase
- Along a headboard
- Across open shelving
- Above a fall coffee bar
- Along a dining room sideboard
A shorter version could even be used across the front of a fall tiered tray or small shelf.
Turn the Same Pumpkins Into Fall Bowl Fillers
If you enjoy making the pumpkins but decide you do not need another garland, simply leave off the twine.
Pile several little fabric pumpkins into a wooden bowl or shallow basket.
Mix different sizes and fabrics, then add a few pinecones, acorns or dried leaves.
It is an easy way to turn exactly the same craft into simple fall house decor.
You could also scatter individual fabric pumpkins along a dining table or tuck them into bookshelves.
A Budget-Friendly Version
This is one of those DIY fall decor projects that can cost very little if you use what you already have.
Instead of buying new fabric, check for:
- Old shirts
- Worn pillowcases
- Leftover quilting fabric
- Fabric sample pieces
- Old tea towels
- Unused cloth napkins
- Previous craft project scraps
For stuffing, you may be able to reuse clean filling from an old cushion or pillow you were already planning to discard.
Use fallen twigs for stems and leftover jute for the garland.
Even if none of the fabrics match perfectly, choosing scraps from a similar fall color palette will help everything feel intentional once the pumpkins are displayed together.
What to Do With Very Small Fabric Scraps
Save the tiny pieces too.
Anything too small for a pumpkin can be cut into strips and tied around the garland.
You can also layer tiny scraps to make leaves for the pumpkin stems.
This makes the project particularly useful if you sew or craft regularly and have accumulated a basket of pieces that feel too pretty to throw away but are too small for most projects.
Make a Matching Fabric Pumpkin Wreath
If you have fabric left after finishing the garland, use the same technique to make several more pumpkins.
Attach them around the bottom half of a grapevine wreath, then fill the gaps with fabric strips, dried leaves or ribbon.
Using the same fabrics for both projects gives you coordinating fall decorations without needing to buy an entirely separate collection of supplies.
Hang the wreath nearby and the two handmade pieces will look as though they were designed as a set.
Store Your Garland for Next Fall
One of the advantages of making fabric pumpkins instead of using real miniature pumpkins is that you can bring the garland out again year after year.
Before storing it, make sure everything is completely clean and dry.
Place the garland loosely inside a lidded storage box rather than squeezing it underneath heavier decorations.
Try not to crush the pumpkins.
If they do become slightly flattened in storage, gently reshape the stuffing with your fingers when you unpack them.
With careful storage, your DIY fabric pumpkin garland can become one of those handmade fall decorations you look forward to bringing out every autumn.