There’s something extra cozy about stepping into your garden on a chilly morning, seeing your breath in the air, and spotting crisp green leaves pushing through the frost. Winter doesn’t have to mean the end of fresh produce. In fact, some winter vegetables actually thrive in the cold. They become sweeter, hardier, and more flavorful when the temperatures dip.
I’ve always loved that feeling of harvesting a head of kale or pulling up carrots when everything else looks dormant. It makes you feel like you’ve cracked a secret code of gardening. With the right choices, you can enjoy fresh homegrown food all winter long, even when the ground is frosty and the days are short.
So let’s dive into 22 winter vegetables that can survive the cold and frost, plus why they work so well in chilly weather.
This post contains affiliate links which help support our blog. We earn a small commission from each sale. You will not be charged anything extra for using the link.
1. Kale for Sweet Winter Greens
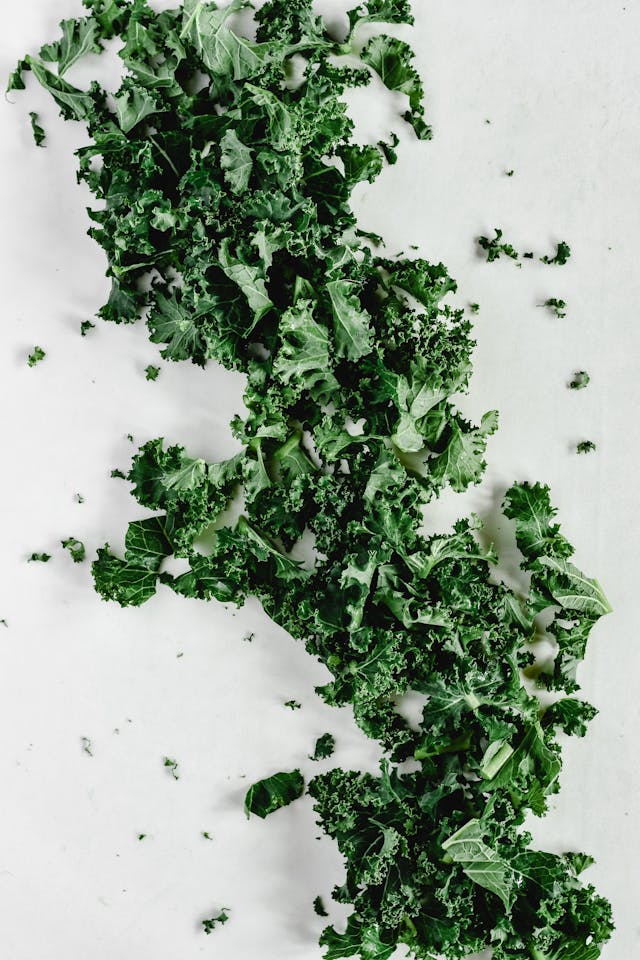
Kale is one of those vegetables that laughs at frost. In fact, the cold makes the leaves sweeter by reducing bitterness. This winter vegetable is packed with nutrients, and it grows strong even when nights are icy. Imagine grabbing a handful of curly kale for a soup or smoothie in January. Doesn’t that sound amazing? Many gardeners say kale is at its best flavor when grown in winter, which is reason enough to plant it.
DIY Growing & Harvesting Steps:
- Choose a sunny spot with well-drained soil, even in winter.
- Sow kale seeds directly in the ground or in raised beds about ¼ inch deep.
- Space seeds 12–18 inches apart to allow the leaves to spread.
- Water consistently, but avoid letting the soil get soggy.
- Once frost sets in, let the plants stay outside, as the flavor sweetens.
- Harvest the lower leaves first, leaving the crown to continue growing.
Helpful Products You Might Need:
2. Carrots with Frost-Kissed Sweetness
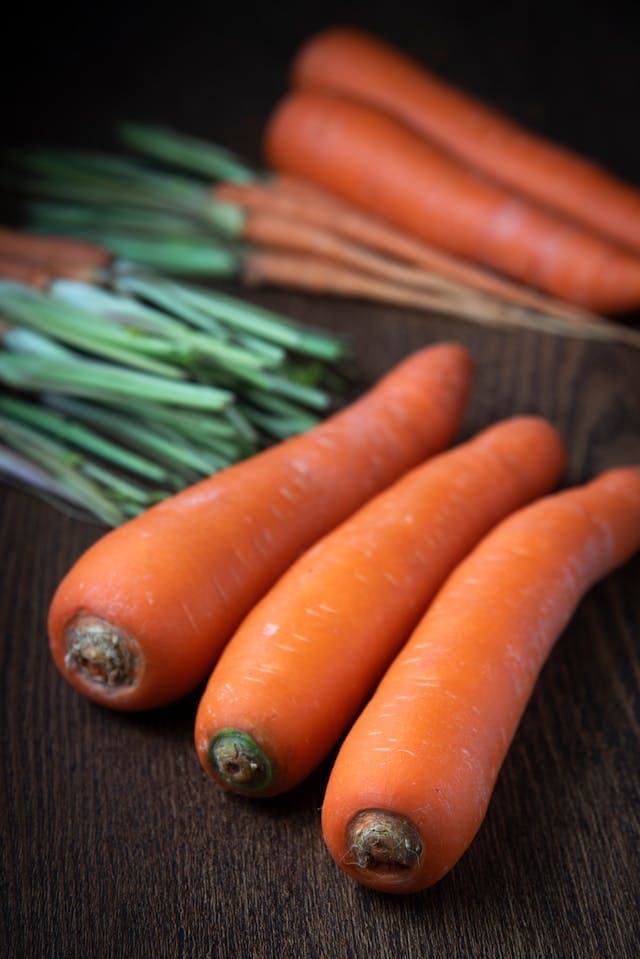
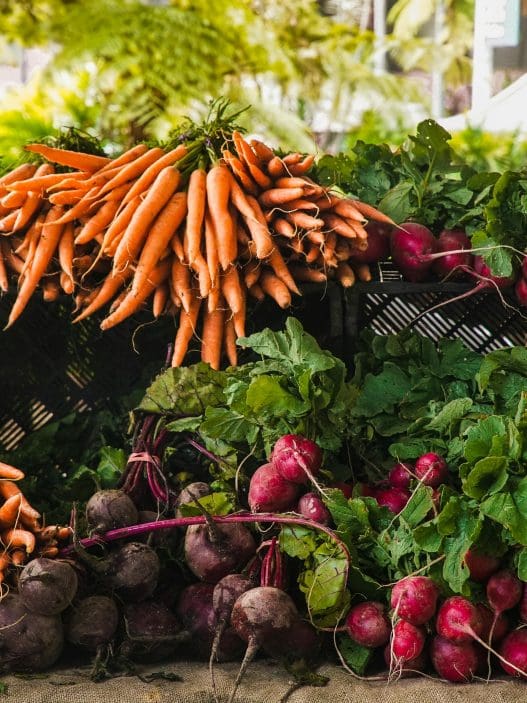
Carrots aren’t just tough, they actually become more delicious after a frost. The cold triggers the root to convert starch into sugar, which protects it from freezing. That’s why winter carrots taste extra sweet and crunchy. I love roasting them with olive oil and thyme on a cold evening. If you’ve only eaten summer carrots, try winter harvesting and taste the difference.
DIY Growing & Harvesting Steps:
- Prepare loose, sandy soil to help carrots grow straight and long.
- Sow carrot seeds ¼ inch deep in rows spaced about 12 inches apart.
- Thin seedlings to about 2 inches apart once they sprout.
- Keep soil moist but not waterlogged during growth.
- Cover with a frost blanket when temperatures drop too low.
- Harvest carrots after the first few frosts for maximum sweetness.
Helpful Products You Might Need:
3. Cabbage That Holds Its Shape
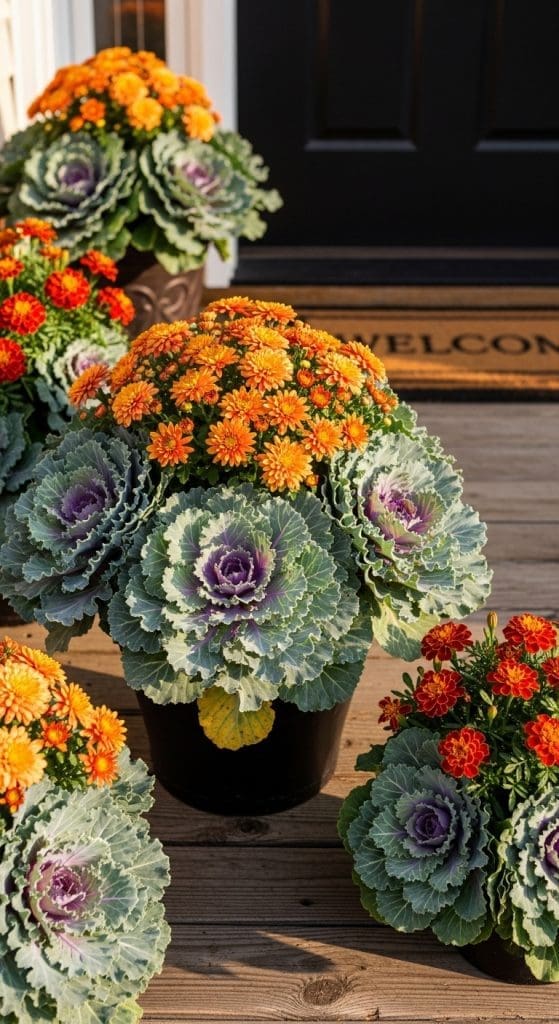
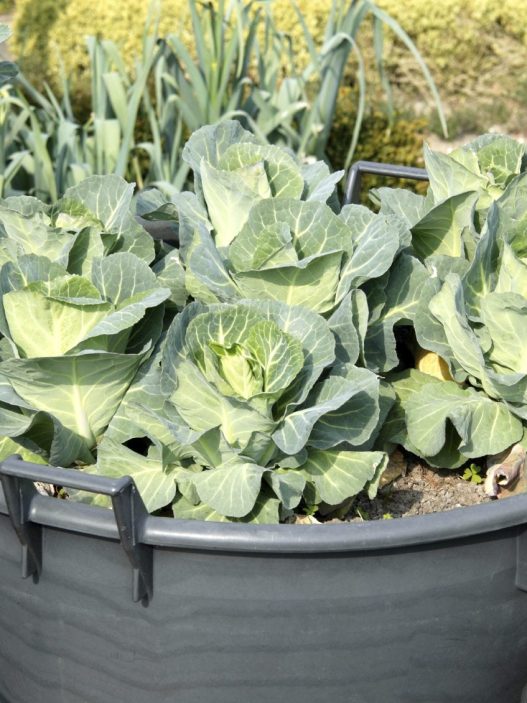
Cabbage is like the bodybuilder of the garden—it’s dense, sturdy, and doesn’t collapse under cold weather. The tight heads can survive frosty mornings without damage, and they’re perfect for winter meals like soups or stir-fries. Have you ever made homemade coleslaw in December with garden-fresh cabbage? It’s a game-changer.
DIY Growing & Harvesting Steps:
- Start cabbage seeds indoors 6–8 weeks before the first frost.
- Transplant seedlings outdoors in fertile soil with full sun.
- Space plants 18–24 inches apart to give heads room to form.
- Water deeply once a week, ensuring the soil stays moist.
- Protect young seedlings with row covers until they harden off.
- Harvest when the heads are firm and tight, even in cold weather.
Helpful Products You Might Need:
4. Spinach That Keeps On Growing
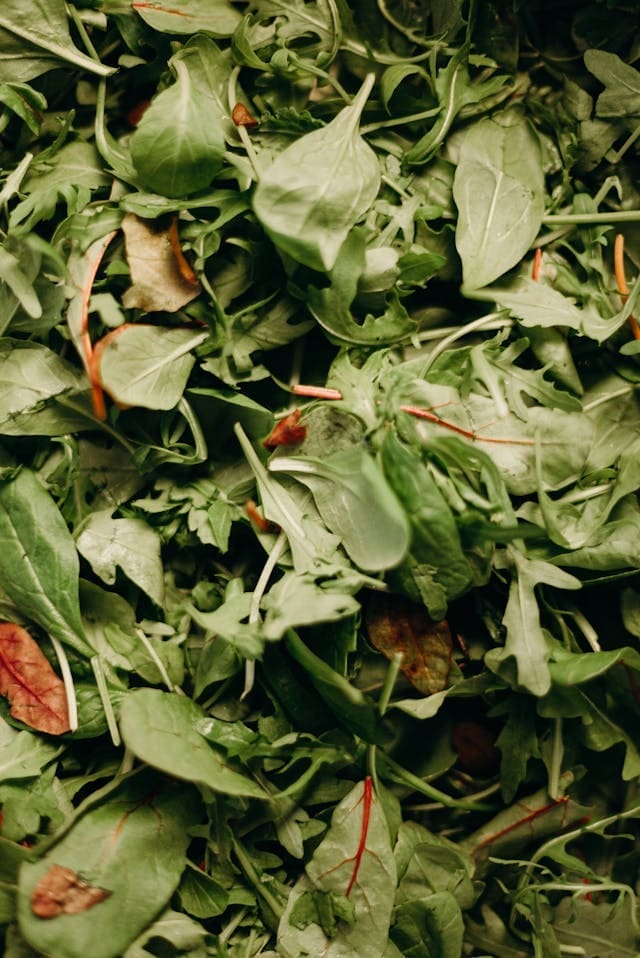
Spinach is one of those leafy greens that doesn’t mind short days or frosty soil. The leaves stay tender and flavorful, and you can keep harvesting through the season. Spinach also regrows quickly, which makes it a great option for continuous winter salads. Just imagine a fresh spinach omelet on a snowy morning. Pure comfort.
DIY Growing & Harvesting Steps:
- Sow spinach seeds directly outdoors in late summer or fall.
- Plant them ½ inch deep and 2–3 inches apart in rows.
- Keep the soil consistently moist for steady growth.
- Mulch around the plants to retain warmth and moisture.
- Protect young seedlings with cold frames during freezing spells.
- Harvest outer leaves regularly, letting the center continue to produce.
Helpful Products You Might Need:
5. Brussels Sprouts on a Frosty Stalk
Brussels sprouts might just be the poster child for winter vegetables. They stay on tall stalks like tiny green ornaments, and the flavor improves after frost. Cold weather reduces bitterness and enhances sweetness, making them perfect for roasting with garlic. Who wouldn’t love walking into the garden and cutting off a whole stalk for dinner?
DIY Growing & Harvesting Steps:
- Start seeds indoors in midsummer, then transplant outside.
- Choose a sunny spot with rich, well-drained soil.
- Plant seedlings 18–24 inches apart for tall stalk development.
- Fertilize every 3–4 weeks to encourage strong growth.
- Leave plants in the ground through light frosts to sweeten flavor.
- Harvest sprouts from the bottom of the stalk upward as they mature.
Helpful Products You Might Need:
6. Leeks That Stand Tall in the Snow
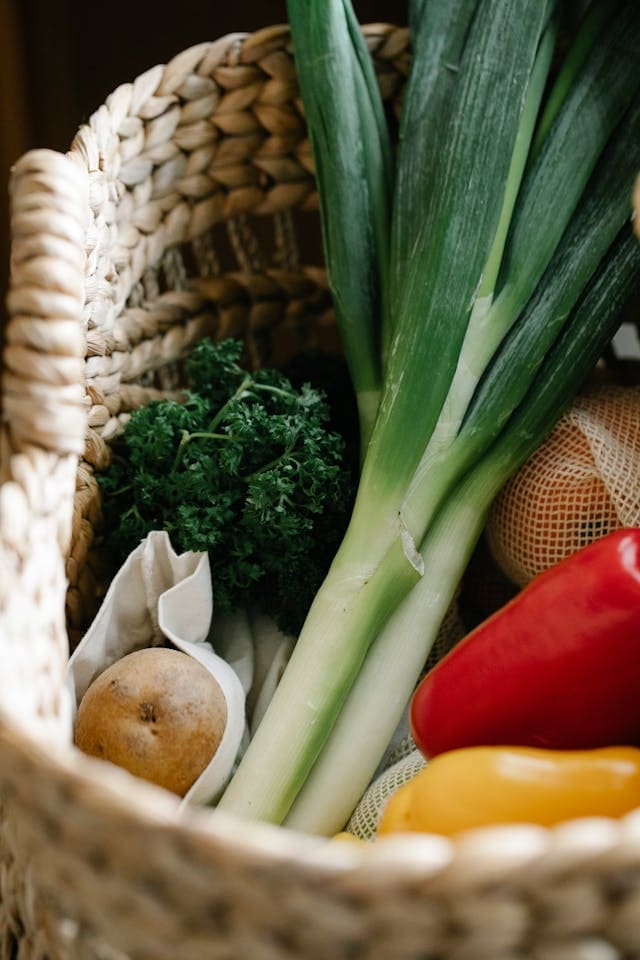
Leeks look delicate but are surprisingly hardy. They stand tall even when covered in frost, and the flavor deepens with cold weather. Their sweet, mild onion taste makes soups and stews comforting during the colder months. If you’ve ever had leek and potato soup on a freezing day, you know why this winter vegetable is worth growing.
DIY Growing & Harvesting Steps:
- Start leek seeds indoors 8–10 weeks before transplanting outdoors.
- Choose deep, fertile soil, ideally in raised beds for easy access.
- Transplant seedlings 6 inches apart in rows, burying the stems deeply for long white stalks.
- Water regularly to keep soil consistently moist.
- Hill soil or mulch around the stems as they grow to blanch them.
- Harvest by gently pulling them from the ground, even after frost or light snow.
Helpful Products You Might Need:
7. Beets with Earthy Winter Flavor
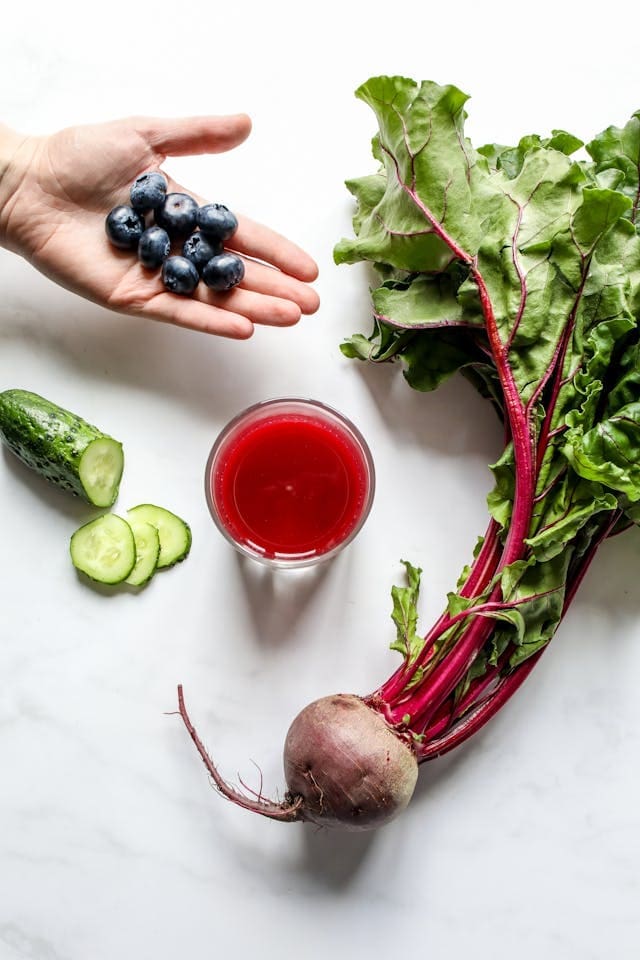
Beets don’t just survive winter, they thrive in it. The roots develop a sweeter flavor after frost, and the leafy tops can also be harvested. They’re perfect for roasting, pickling, or even tossing into a warm salad. Can you picture pulling up a bright red beet from the cold soil while everything else looks gray? It’s like unearthing a hidden jewel.
DIY Growing & Harvesting Steps:
- Sow beet seeds directly in the garden about ½ inch deep.
- Space seeds 3–4 inches apart in rows 12 inches apart.
- Thin seedlings once they’re a few inches tall to avoid crowding.
- Water consistently, especially during dry spells.
- Mulch around the plants to insulate the soil against frost.
- Harvest roots when they’re 2–3 inches wide, or leave them longer for more sweetness.
Helpful Products You Might Need:
8. Swiss Chard That Adds Color to Winter
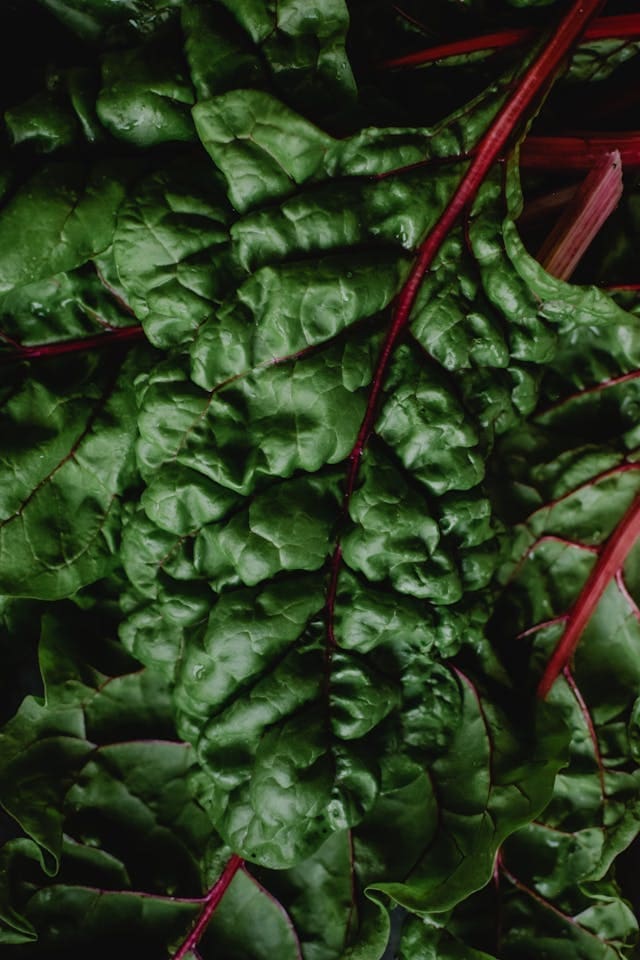
Swiss chard is not only cold-hardy, it’s beautiful. With stems that glow in shades of red, yellow, and orange, it brightens up any frosty garden. The leaves stay tender in cool weather, and you can harvest them again and again. I always find chard brings cheer when the garden starts looking bare. Plus, it tastes amazing sautéed with garlic.
DIY Growing & Harvesting Steps:
- Sow seeds directly outdoors in early fall for winter harvest.
- Plant ½ inch deep and 4–6 inches apart in rows.
- Water regularly but avoid overwatering in colder months.
- Apply a layer of compost or mulch around the base for warmth.
- Harvest outer leaves when they’re 8–10 inches long, letting the center regrow.
- Keep harvesting into winter as long as plants stay protected from extreme freezes.
Helpful Products You Might Need:
9. Turnips for Both Greens and Roots
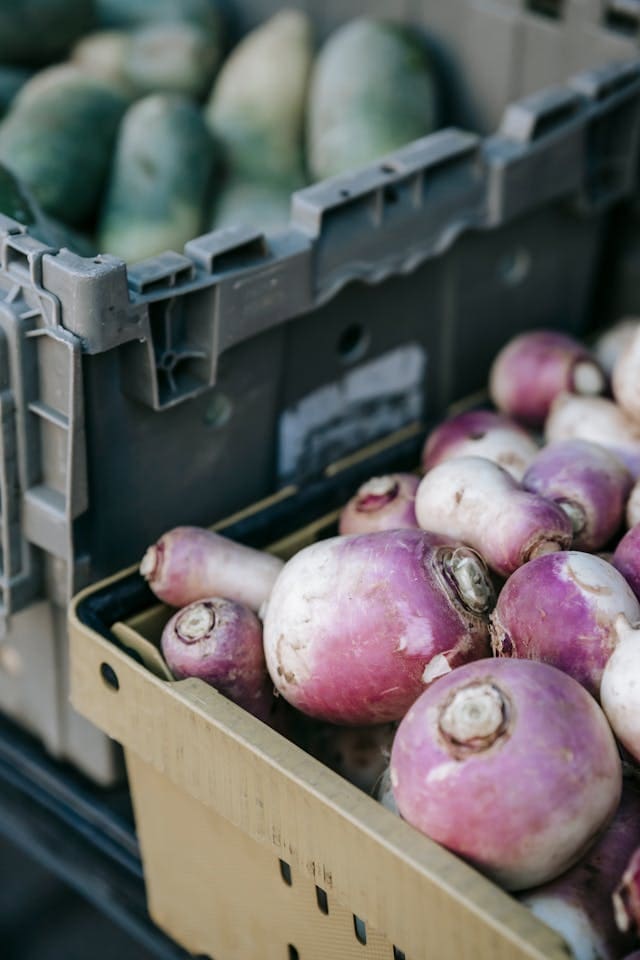
Turnips give you a double harvest: the leafy tops and the round roots. Both can survive frosty conditions and provide different flavors for winter cooking, making them a great winter vegetable. Turnip greens taste earthy and hearty, while the roots roast beautifully. Don’t you love it when one plant gives you two completely different meals?
DIY Growing & Harvesting Steps:
- Sow seeds directly into the soil about ½ inch deep.
- Space plants 2–3 inches apart for roots to form.
- Thin seedlings as they grow to prevent overcrowding.
- Water moderately, ensuring the soil doesn’t completely dry out.
- Harvest young greens when leaves are tender.
- Pull up roots once they’re about 2–3 inches wide.
Helpful Products You Might Need:
10. Collard Greens with Old-Fashioned Flavor
Collards are southern comfort food, and they’re incredibly cold-resistant. The large leaves hold up well under frost, and the flavor gets sweeter in cooler weather. They’re great for slow cooking, soups, or simply sautéed. If you’ve never tried collards after a frost, you’ll be surprised at how delicious they become.
DIY Growing & Harvesting Steps:
- Start seeds indoors or sow directly outdoors in late summer.
- Space plants 18–24 inches apart in full sun.
- Keep the soil rich with compost or organic fertilizer.
- Water regularly to keep the soil moist but not soggy.
- Protect young seedlings with row covers until they mature.
- Harvest leaves from the bottom up, leaving the crown to keep producing.
Helpful Products You Might Need:
11. Garlic That Grows All Winter

Garlic isn’t harvested until summer, but winter is when the magic happens underground. Plant it in the fall, and the bulbs quietly grow through the cold months. By the time warm weather arrives, you’ll have large, flavorful heads. Every time I plant garlic in autumn, it feels like a promise to my future self for tasty dishes.
DIY Growing & Harvesting Steps:
- Choose a sunny location with well-drained soil.
- Break a garlic bulb into individual cloves.
- Plant cloves 2 inches deep, pointed side up, and 6 inches apart.
- Cover the bed with mulch to insulate against deep freezes.
- Water lightly after planting, then sparingly over winter.
- Harvest scapes (flower stalks) in spring and bulbs in early summer.
Helpful Products You Might Need:
12. Mustard Greens for a Peppery Kick
Mustard greens are spicy, hearty, and perfectly suited to cold weather. The frost softens their sharpness, giving them a milder flavor. If you enjoy a little zing in your meals, this is a great winter vegetable to try. Picture adding them to stir-fries or sautéing them with a splash of vinegar on a cold evening.
DIY Growing & Harvesting Steps:
- Sow seeds directly in early fall for winter crops.
- Plant ½ inch deep and about 6 inches apart.
- Water regularly, especially during dry spells.
- Protect young plants with row covers to prevent pests.
- Harvest leaves when they’re young and tender.
- Continue harvesting outer leaves to keep plants producing.
Helpful Products You Might Need:
13. Broccoli That Loves the Cold
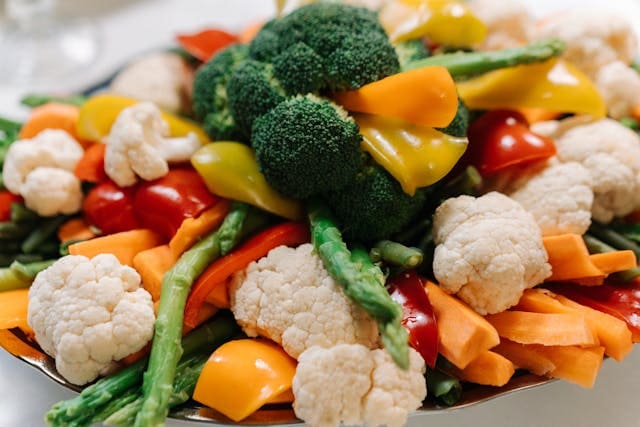
Broccoli thrives in cooler seasons, and frost actually enhances its flavor making it a great winter vegetable. The dense green heads can handle frosty nights, and the side shoots keep producing after the main harvest. I find broccoli especially satisfying to grow because it feels like a full meal right from the garden. Who doesn’t love a cheesy broccoli bake in winter?
DIY Growing & Harvesting Steps:
- Start seeds indoors 6–8 weeks before transplanting.
- Choose a sunny spot with fertile, well-drained soil.
- Transplant seedlings 18 inches apart once they’re 4–6 inches tall.
- Fertilize with a nitrogen-rich option every few weeks.
- Water deeply once a week.
- Harvest when the central head is firm and tight, then let side shoots grow.
Helpful Products You Might Need:
14. Rutabagas with Hearty Roots Make The Perfect Winter Vegetable
Rutabagas are like turnips but with a sweeter, denser flavor. They handle frost extremely well, and their large roots provide a hearty addition to winter dishes. Mashed rutabagas with butter on a chilly night? Yes, please. They’re an underrated winter vegetable that deserves more love.
DIY Growing & Harvesting Steps:
- Sow rutabaga seeds in late summer or early fall.
- Plant ½ inch deep, 6 inches apart in rows.
- Thin seedlings to prevent crowding.
- Keep soil moist but not soggy for steady growth.
- Add mulch to protect roots from extreme cold.
- Harvest once roots are 3–5 inches in diameter.
Helpful Products You Might Need:
15. Onions That Overwinter Nicely
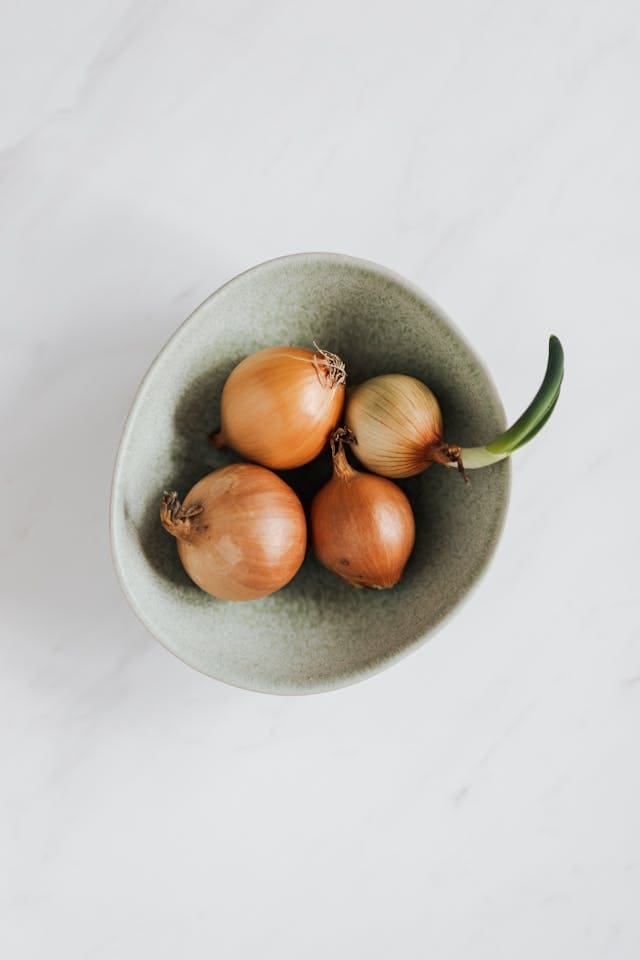
Certain varieties of onions can be planted in fall and overwinter in the soil. They grow slowly through the cold, ready for harvest as soon as spring hits. It feels magical to pull up onions after months of waiting. Plus, onions add flavor to almost every winter meal, making them a kitchen essential.
DIY Growing & Harvesting Steps:
- Choose overwintering onion varieties.
- Plant onion sets or seedlings in well-drained soil, 1 inch deep.
- Space them 4–6 inches apart in rows.
- Mulch heavily to protect roots from frost.
- Water lightly during dry periods, even in winter.
- Harvest green shoots in spring and bulbs in late spring or early summer.
Helpful Products You Might Need:
16. Endive with Its Crisp Bite is a Great Winter Vegetable
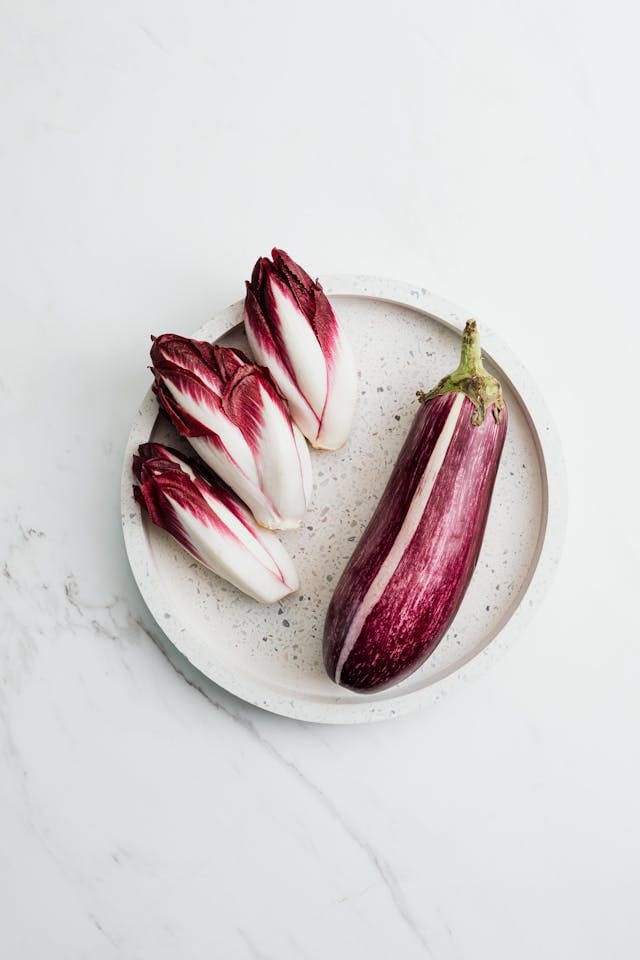
Endive is a leafy vegetable that actually prefers cooler weather. The crisp leaves stay fresh and crunchy, even with frost. It’s great for winter salads or as a garnish for soups. Endive gives your meals a gourmet touch, and it grows easily when other greens are struggling.
DIY Growing & Harvesting Steps:
- Sow seeds directly outdoors in late summer or fall.
- Plant ¼ inch deep and 6–8 inches apart.
- Keep soil moist, as endive prefers consistent watering.
- Mulch around plants to insulate against frost.
- Harvest outer leaves regularly to encourage growth.
- Pick entire heads once they’re full and firm.
Helpful Products You Might Need:
17. Radishes That Surprise You as a Winter Vegetable
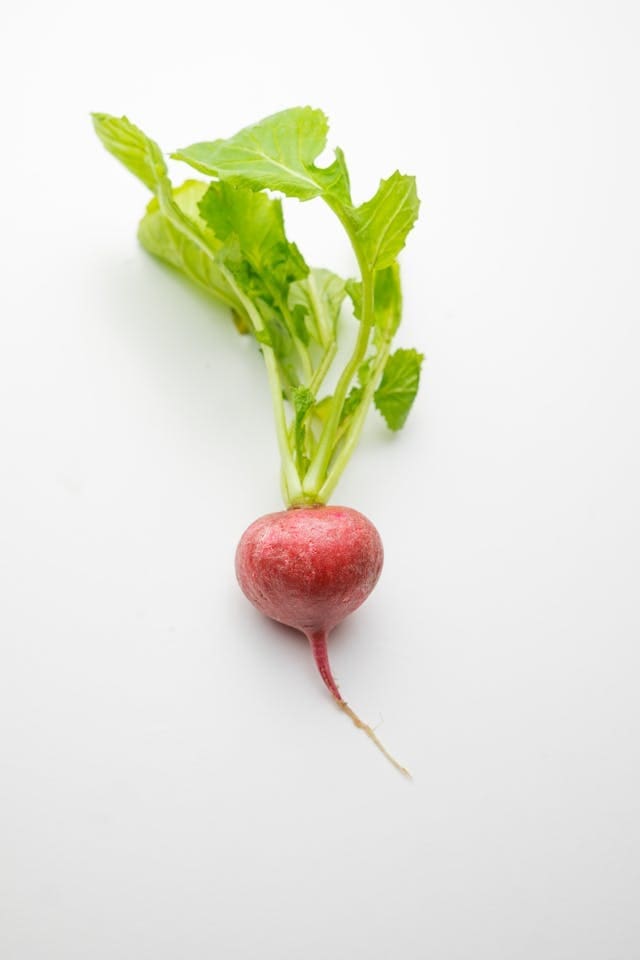
Radishes are often thought of as spring crops, but certain varieties thrive in cooler weather. Winter radishes grow larger and develop a milder flavor. They’re perfect for pickling, roasting, or adding crunch to a salad. Imagine pulling a bright daikon radish from frosty soil—such a satisfying moment.
DIY Growing & Harvesting Steps:
- Sow winter radish seeds ½ inch deep and 2 inches apart.
- Choose a sunny location with loose soil.
- Thin seedlings to give roots plenty of space.
- Water consistently for crisp, juicy roots.
- Protect with row covers if frost is extreme.
- Harvest when roots are firm and about 2–3 inches wide.
Helpful Products You Might Need:
18. Kohlrabi is a Crisp Winter Vegetable
Kohlrabi looks like a little alien bulb, but don’t let that fool you. It’s hardy, delicious, and loves cold weather. The flavor is like a cross between cabbage and turnip, with a crisp crunch that holds up in winter. I enjoy slicing it thin for salads or roasting it for a cozy side dish.
DIY Growing & Harvesting Steps:
- Sow kohlrabi seeds in late summer for winter crops.
- Plant ¼ inch deep and 6 inches apart in rows.
- Water evenly to prevent woody texture.
- Mulch soil to stabilize temperature.
- Harvest bulbs when they’re about 2–3 inches wide.
- Leave a few leaves intact for continued growth.
Helpful Products You Might Need:
19. Parsnips with Sweet Earthiness
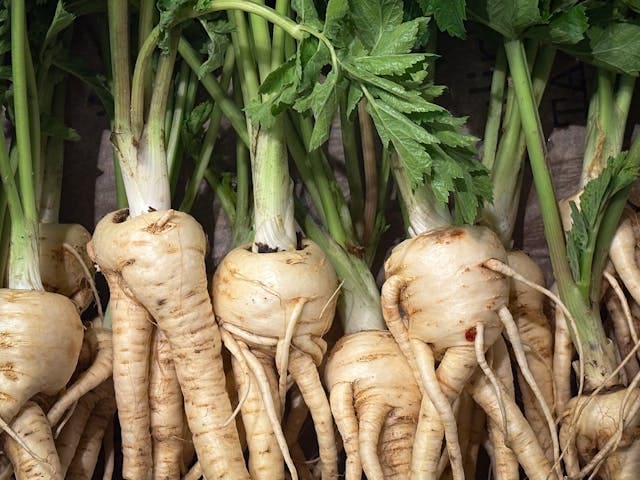
Parsnips are one of those vegetables that actually need the cold to taste their best. Frost converts their starches into sugars, giving them a sweet, nutty flavor. They’re wonderful roasted, mashed, or added to stews. Once you try a winter parsnip, you’ll wonder why they aren’t more popular.
DIY Growing & Harvesting Steps:
- Sow seeds directly into loose soil in early fall.
- Plant ½ inch deep, spacing 3 inches apart.
- Keep soil moist for steady growth.
- Allow plants to overwinter in the soil under mulch.
- Harvest after several frosts for best flavor.
- Use a garden fork to lift roots gently from the soil.
Helpful Products You Might Need:
20. Mâche (Corn Salad) as a Winter Vegetable
Mâche, also called lamb’s lettuce, is one of the most cold-hardy greens out there. It thrives in chilly soil and adds a delicate, nutty flavor to salads. It’s small, tender, and perfect for winter harvesting. Picture a bowl of mâche sprinkled with nuts and vinaigrette—it feels like such a winter luxury.
DIY Growing & Harvesting Steps:
- Sow seeds directly in the garden in early fall.
- Plant ¼ inch deep and scatter in wide rows.
- Thin seedlings lightly to allow airflow.
- Water gently to avoid soil compaction.
- Protect with a cold frame during heavy freezes.
- Harvest entire clusters when leaves are 3–4 inches tall.
Helpful Products You Might Need:
21. Celery Root (Celeriac) for Unique Flavor
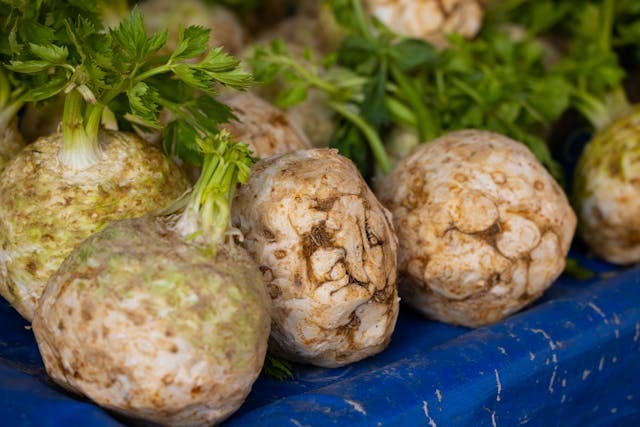
Celery root looks rough on the outside but hides a fragrant, mild flavor inside. It’s frost-tolerant and develops its best taste in cool weather. You can mash it like potatoes or cube it into soups. This winter vegetable feels a little fancy, but it’s surprisingly easy to grow and cook with.
DIY Growing & Harvesting Steps:
- Start seeds indoors in midsummer for fall transplanting.
- Transplant into rich, fertile soil about 8 inches apart.
- Water consistently, as celeriac needs moisture to form large roots.
- Mulch heavily to insulate against deep freezes.
- Harvest once roots are about the size of a grapefruit.
- Trim off tops and store roots in a cool, dry place.
Helpful Products You Might Need:
22. Scallions That Keep on Growing
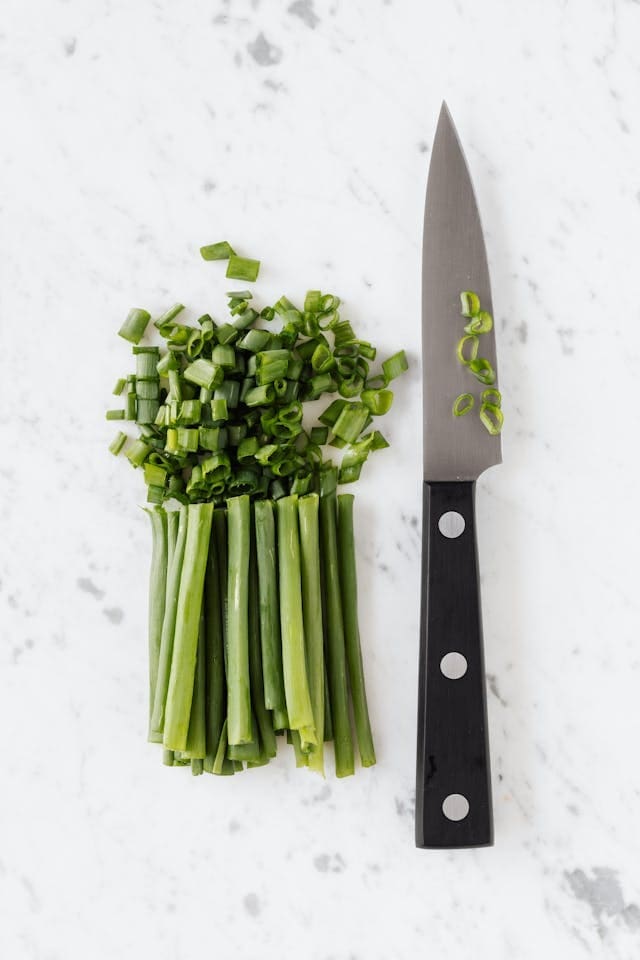
Scallions (green onions) are a great winter option because they keep producing even when other plants slow down. They’re hardy, quick-growing, and so versatile in cooking. I love snipping a few scallions from the garden to top off a hot bowl of ramen on a snowy day. Simple but so rewarding.
DIY Growing & Harvesting Steps:
- Plant scallion seeds or sets directly in the soil.
- Space them 2 inches apart in rows.
- Water regularly to keep soil moist.
- Add mulch to protect roots in cold spells.
- Harvest outer shoots as needed, leaving others to regrow.
- Replant every few weeks for a continuous supply.
Helpful Products You Might Need:
If you liked this post, why not check out our other fall & winter related posts such as the best vegetables to grow in September or how to make DIY planters for your front porch for under $20


