If you’ve ever gone shopping for planters, you know how quickly the cost can add up. A single ceramic pot at a home improvement store can easily run between $25 and $50. That’s why DIY planter projects are such a game-changer. Not only do they save you money, but they also give you the opportunity to personalize your garden space in a way store-bought pots never could. Even better, many of these projects recycle items you might already have at home, making them both budget-friendly and eco-friendly.
Whether you live in a small apartment with a sunny windowsill or you have a backyard that needs sprucing up, these planter ideas are versatile enough to fit any lifestyle. Each idea listed below can be completed for under $20, and most can be done in less than an afternoon. With just a few basic supplies, you’ll have stylish and unique planters that look far more expensive than they actually are.
1. Mason Jar Herb Planters
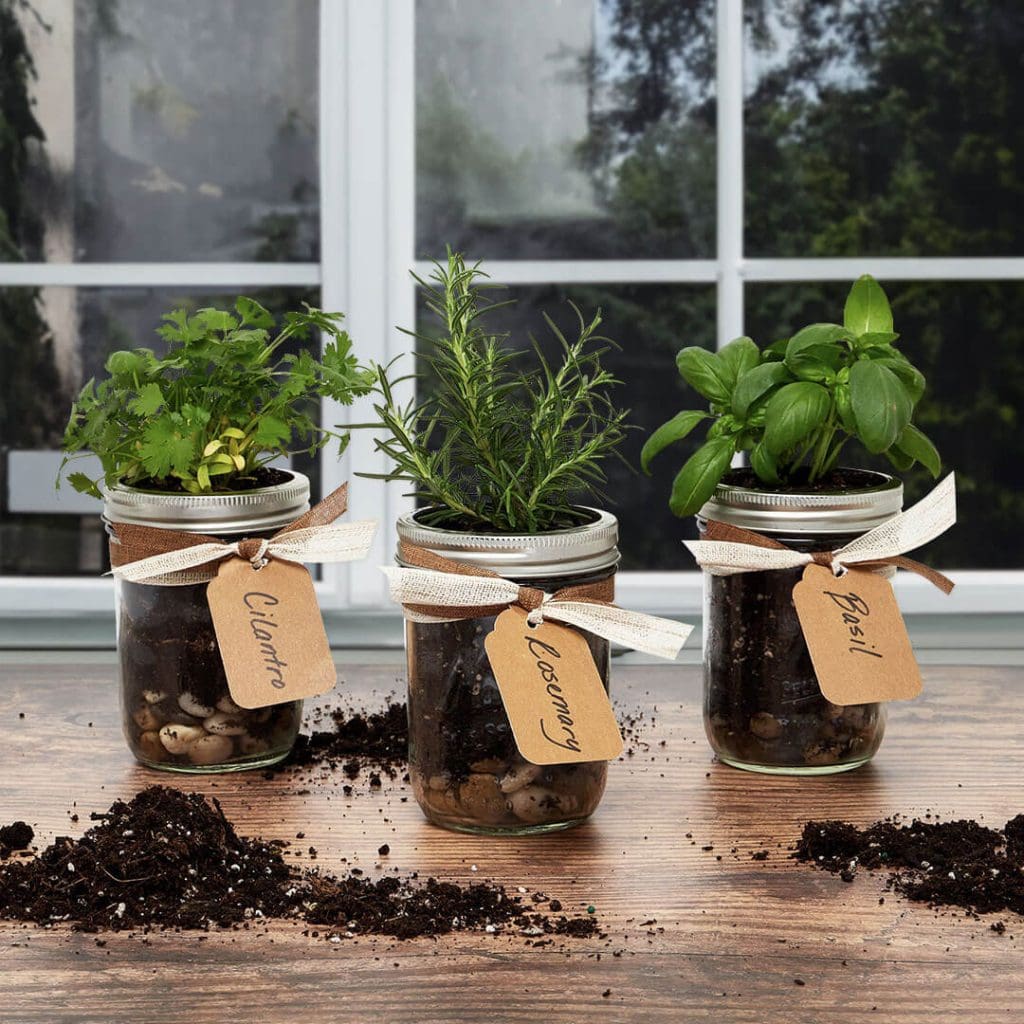
Mason jars are a classic DIY favorite because they’re inexpensive, versatile, and easy to find. For under $20, you can turn a set of jars into a charming indoor herb garden. These DIY planters are perfect for kitchens, especially if you love cooking with fresh herbs. The clear glass also lets you see root growth, which adds a fun educational element if you’re teaching kids about gardening. Since herbs don’t require deep containers, jars are a practical solution that works beautifully.
DIY Instructions:
- Gather 3–5 mason jars (or any clear glass jars you already own).
- Place a thin layer of pebbles at the bottom of each jar for drainage.
- Fill halfway with potting soil, leaving room for seeds or starter plants.
- Add herb seeds like basil, parsley, or cilantro, or place small transplants directly into the jars.
- Top off with more soil, leaving about an inch of space at the rim.
- Water lightly and place the jars on a sunny windowsill where they’ll get 5–6 hours of light daily.
2. Tin Can Succulent Pots
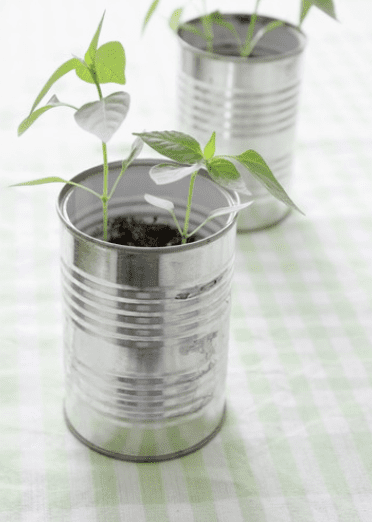
Tin cans are one of the easiest upcycled items to transform into a DIY planter. They’re lightweight, sturdy, and perfectly sized for small succulents or cacti. Decorating the cans with paint, twine, or fabric lets you match them to your home’s aesthetic, whether rustic farmhouse or modern chic. Because succulents require minimal watering and soil depth, tin cans provide just the right size and drainage for healthy plant growth. Plus, they give you a way to reduce kitchen waste while beautifying your space.
DIY Instructions:
- Wash and dry empty soup or coffee cans.
- Use a hammer and nail to create 3–4 drainage holes at the bottom of each can.
- Paint the outside or wrap with jute twine for a rustic look.
- Add a thin layer of gravel or stones at the bottom.
- Fill halfway with cactus or succulent potting mix.
- Place your succulent plant inside, fill around it with soil, and water sparingly.
3. Wooden Crate Garden Box
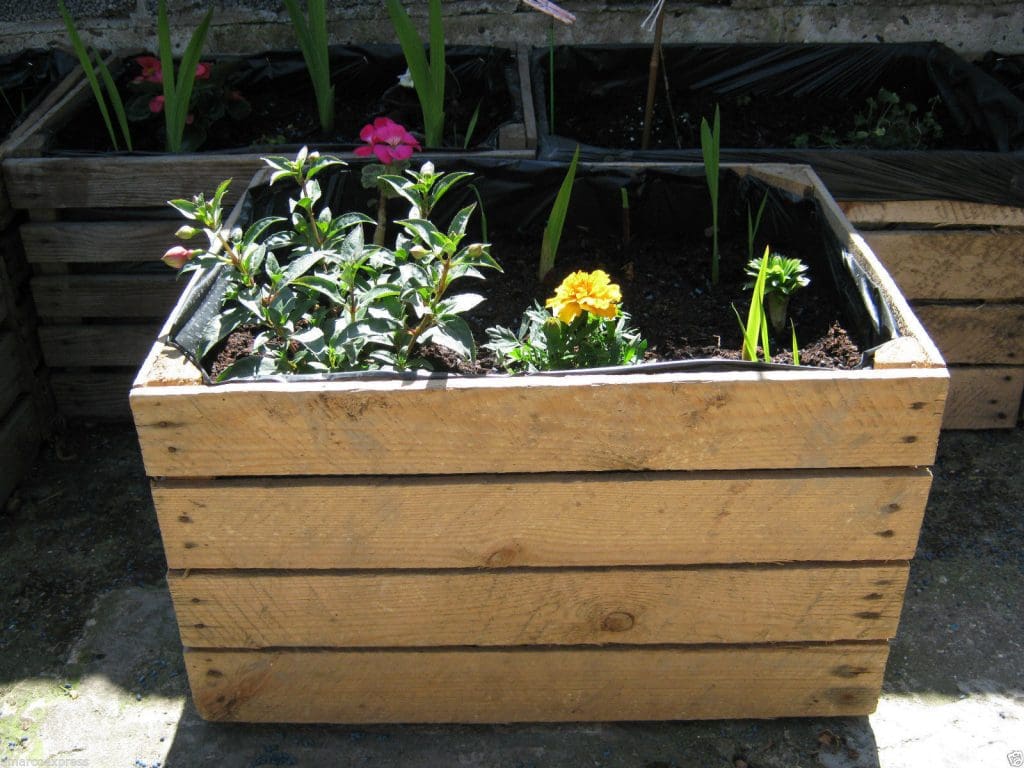
Wooden crates are affordable and can often be found at craft stores, farmer’s markets, or even wine shops. With just a little effort, they can be repurposed into large planters perfect for flowers, herbs, or even vegetables. The rustic charm of a wooden crate planter adds farmhouse appeal to patios, balconies, or porches. To make the planter last longer outdoors, you’ll want to treat or seal the wood, but even with those steps the project stays well within the $20 budget.
DIY Instructions:
- Buy or repurpose a wooden crate (look for fruit crates or wine boxes).
- Sand rough edges to avoid splinters.
- Line the inside with heavy-duty plastic or a trash bag to prevent soil from rotting the wood.
- Poke a few drainage holes through the liner.
- Fill the crate with potting soil.
- Plant flowers, herbs, or leafy greens, and place in a sunny outdoor spot.
4. Hanging Shoe Organizer Planter

A fabric shoe organizer is not just for closets, it can also be a brilliant vertical DIY planter. By hanging it on a balcony railing or a wall, you can create multiple small planting pockets that are perfect for herbs, lettuce, or flowers. This idea is great for anyone with limited space, such as apartment dwellers. Plus, it makes watering simple since the fabric allows for natural drainage. You’ll be amazed at how much greenery you can grow in such a small footprint.
DIY Instructions:
- Purchase a fabric shoe organizer (the kind with pockets).
- Hang it securely on a fence, railing, or wall using strong hooks.
- Line each pocket with a small plastic bag or coffee filter to prevent soil loss.
- Fill each pocket with potting soil, leaving about an inch at the top.
- Plant herbs, strawberries, or small flowers in each pocket.
- Water gently and regularly, ensuring even moisture throughout.
5. Plastic Bottle Vertical Planter
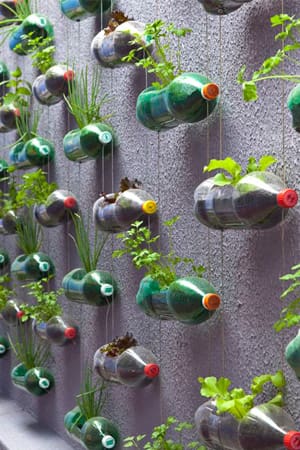
Plastic bottles are one of the easiest materials to recycle into functional planters. Instead of throwing them away, you can transform them into hanging or wall-mounted planters that cost almost nothing. This eco-friendly project is especially fun for kids and teaches the value of reusing materials. With a few simple cuts and a little creativity, you’ll have a vertical garden that looks stylish while saving space.
DIY Instructions:
- Collect large plastic bottles (2-liter soda bottles work best).
- Rinse thoroughly and remove labels.
- Cut a wide opening on one side for planting.
- Poke 3–4 drainage holes in the bottom.
- Fill halfway with soil and plant herbs, flowers, or small vegetables.
- Mount the bottles on a wooden board, fence, or wall using nails or zip ties.
6. Terra Cotta Pot Tower

Stacking terra cotta pots creates a striking tower planter that looks high-end but costs less than $20 to assemble. These towers are excellent for displaying colorful flowers or trailing plants. The design also allows you to grow multiple plants in one vertical arrangement, which saves space while adding visual interest to your garden. Terra cotta pots are breathable, keeping soil healthier for your plants, and they’re easy to find at hardware or dollar stores.
DIY Instructions:
- Purchase three to four terra cotta pots in graduating sizes.
- Place the largest pot at the bottom and fill with soil.
- Insert a sturdy wooden dowel or metal rod into the center for support.
- Slide the next pot over the dowel, tilting it slightly for a staggered look.
- Continue stacking the remaining pots in alternating directions.
- Plant flowers, herbs, or trailing vines in each layer and water well.
7. Use Cinder Blocks As DIY Planters
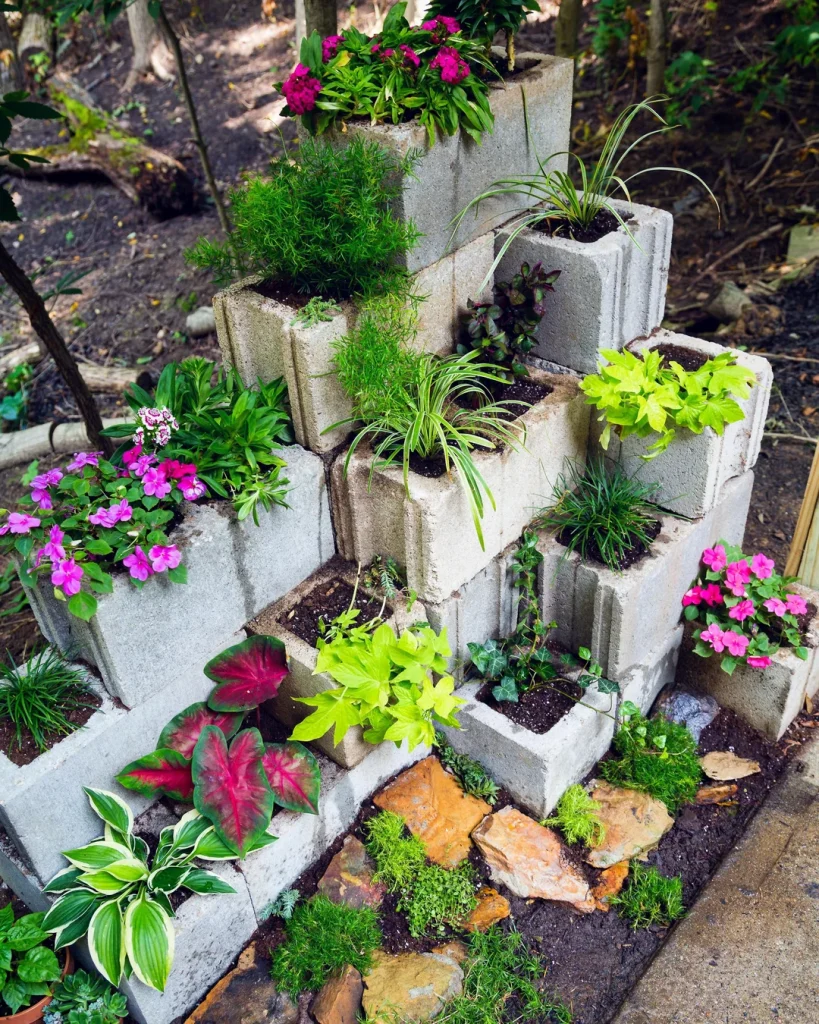
Cinder blocks are inexpensive, durable, and surprisingly stylish when arranged creatively. Their built-in hollow spaces make perfect planting pockets for succulents, flowers, or even small vegetables. You can stack them into unique geometric shapes to create a modern garden feature. Cinder block planters also work well for patios or driveways since they can be rearranged easily and hold up against the weather.
DIY Instructions:
- Buy 3–5 cinder blocks from a hardware store.
- Arrange them in a stacked or staggered design, leaving some hollows exposed.
- Line the hollow sections with landscaping fabric or plastic to hold soil.
- Fill each pocket with potting soil.
- Add succulents, flowers, or herbs into each planting hole.
- Paint or seal the outside for added style and durability.
8. Colander Hanging Basket
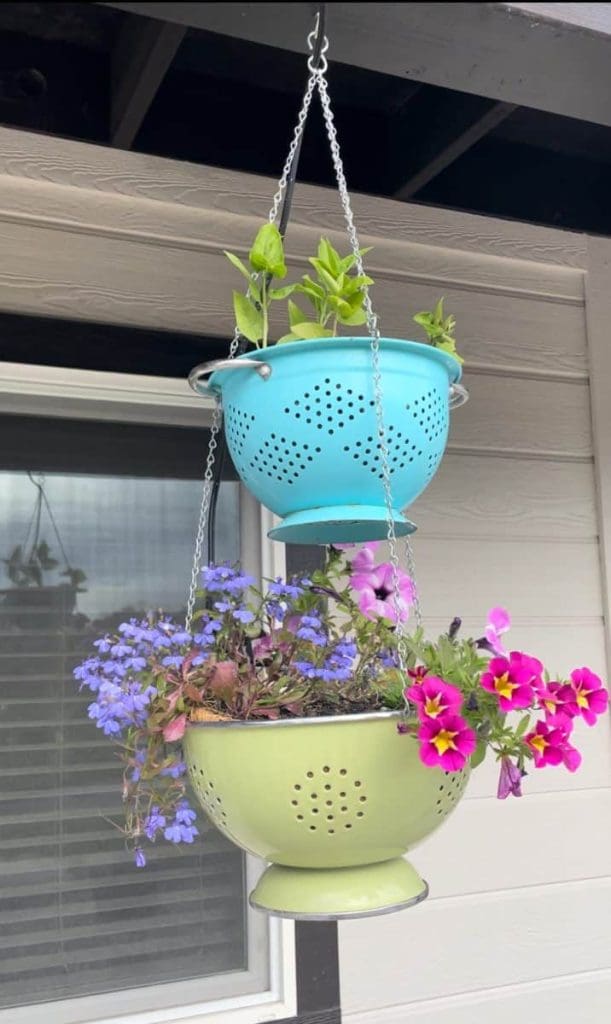
An old colander can be turned into a quirky hanging basket with built-in drainage holes. This is one of the easiest DIY planter projects, and you can often find secondhand colanders at thrift stores for just a couple of dollars. Their size makes them perfect for petunias, trailing ivy, or small annual flowers. With a little creativity, you can paint or decorate the colander to match your outdoor décor while creating a planter that looks unique and intentional.
DIY Instructions:
- Find a metal or plastic colander (thrift stores are great sources).
- Attach three chains or strong ropes to the handles for hanging.
- Line the inside with coconut fiber or landscaping fabric.
- Add potting soil until the colander is nearly full.
- Plant flowers or trailing vines inside.
- Hang in a sunny spot and water as needed.
9. Teacups As Mini DIY Planters
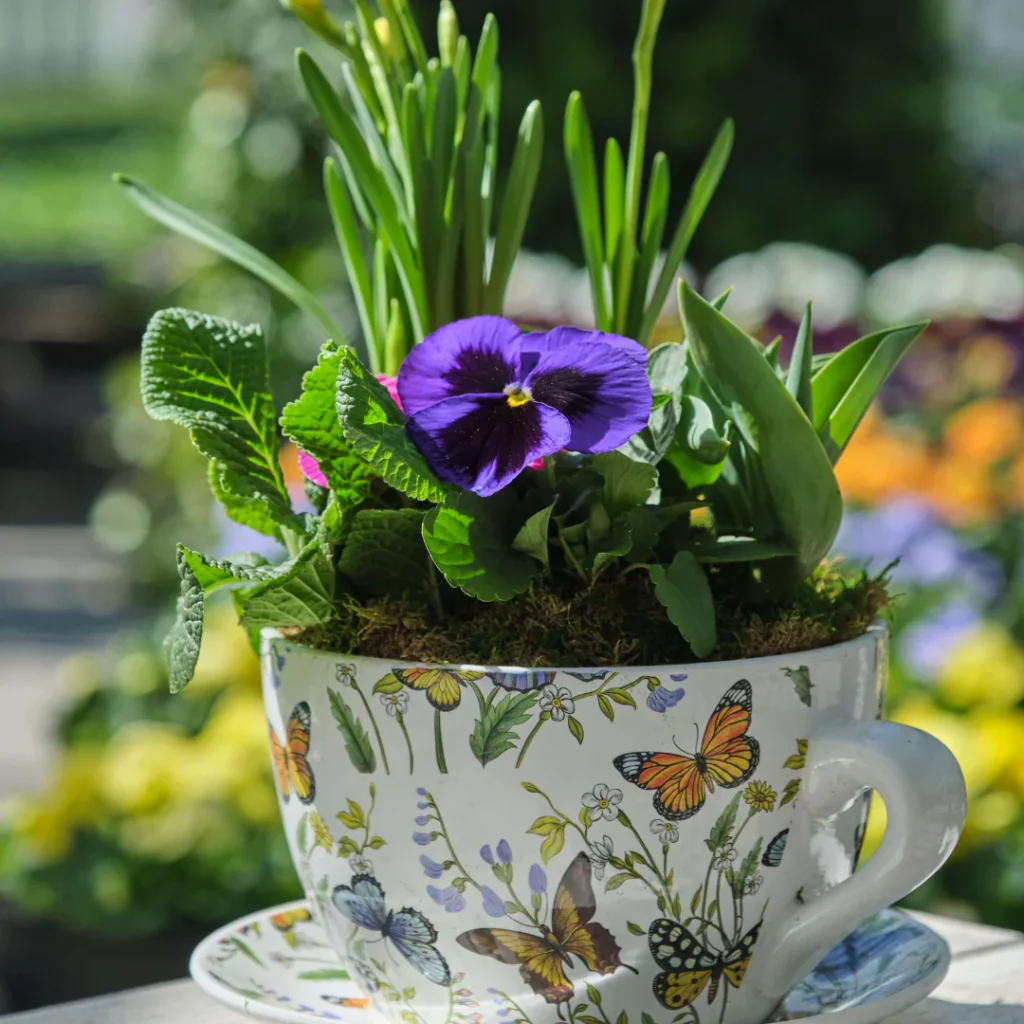
Vintage teacups make adorable mini planters for small succulents or cacti. They’re ideal for indoor spaces like desks, shelves, or windowsills where you want a little pop of greenery. Because teacups don’t take much soil, this is one of the most budget-friendly planter ideas. You can usually find mismatched cups at thrift shops for a dollar or two. They’re small but eye-catching, and they add a whimsical, cozy touch to any room.
DIY Instructions:
- Collect teacups or small mugs from thrift shops or your own kitchen.
- If possible, drill a small drainage hole in the bottom (optional).
- Add a thin layer of pebbles for drainage if no hole is available.
- Fill halfway with cactus or succulent soil.
- Place a tiny succulent or cactus in the soil.
- Display on a sunny shelf, windowsill, or desk for instant charm.
10. Pallet Wall Garden DIY Planter Idea
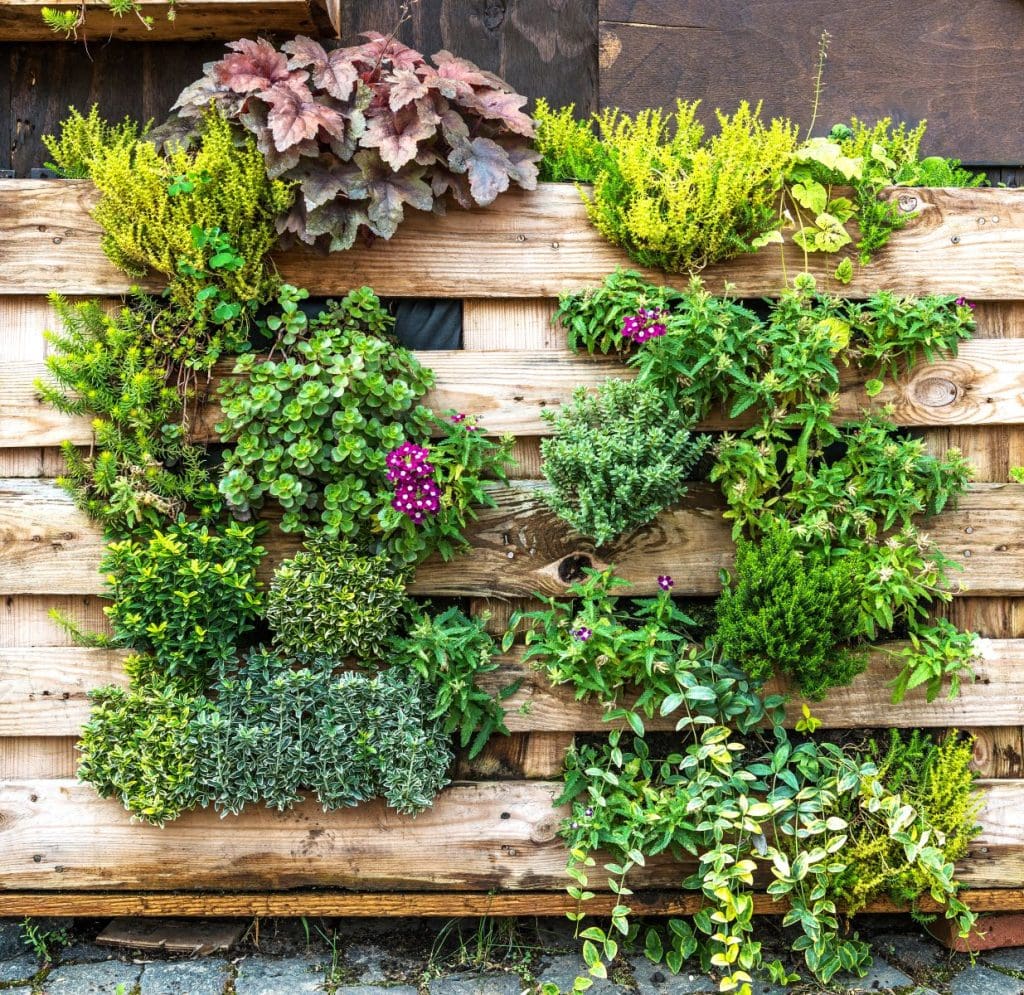
Wooden pallets are one of the most versatile DIY materials out there, and they often cost nothing if you can find them at warehouses or local stores. Turning a pallet into a vertical garden is a budget-friendly way to grow herbs, flowers, or even strawberries in tight spaces. Because pallets have built-in slats, they’re perfect for holding soil pockets. With a bit of lining and soil, you can create a rustic and functional garden feature that costs almost nothing.
DIY Instructions:
- Find a free or low-cost wooden pallet (make sure it’s safe for garden use).
- Sand down rough areas to prevent splinters.
- Line the back and sides with landscaping fabric or thick plastic.
- Staple the lining securely to hold soil in place.
- Fill each slat space with potting soil.
- Plant herbs, lettuce, or flowers in each section and lean the pallet against a wall.
Creating planters doesn’t have to be expensive or complicated. With everyday items like mason jars, tin cans, and wooden crates, you can build beautiful displays for under $20. These DIY projects prove that gardening is not just for those with big budgets, it’s for anyone with creativity and a little time to spare. Whether you’re growing herbs in a mason jar on your windowsill or stacking cinder blocks into a modern planter, you’ll have stylish and functional planters that make your home feel greener and more inviting.
FAQs
1. What is the cheapest DIY planter material?
Plastic bottles, tin cans, and teacups are among the cheapest options since they can often be repurposed from household items you already own.
2. Can I make planters without power tools?
Yes, most of the projects listed above require no power tools at all. At most, you’ll need a hammer, scissors, or a small hand drill for drainage holes.
3. How do I prevent wood planters from rotting?
Line wooden planters with plastic or landscaping fabric before adding soil. Sealing or painting the wood also helps extend its life.
4. Are recycled planters safe for food plants?
Yes, as long as you avoid containers that once held chemicals or toxic substances. Clean everything thoroughly before planting edible herbs or vegetables.
5. What plants grow best in small containers?
Herbs (basil, mint, thyme), succulents, lettuce, and small flowers like pansies and petunias thrive in small containers.
If you liked this post why not check out our other popular planter posts Fall Planter Ideas That Bring Cozy Seasonal Charm to Your Front Porch and Creative She Shed Ideas


