





The best Halloween mailbox decorations are also wonderfully simple. There is no need for complicated woodworking, expensive props, or an afternoon spent wrestling with glue guns. Many of these ideas use inexpensive supplies such as zip ties, faux spiders, pumpkins, black birds, fabric, and poseable skeletons. They can easily tie into your existing outdoor Halloween decor, whether the rest of the yard feels creepy, playful, rustic, or somewhere in between.
These 10 ideas are especially suited to beginners, with options for mailboxes in full sun as well as shaded spots. Several are easy DIY Halloween decor projects too, so it is simple to create an eye-catching display without spending much.
1. Pose a Skeleton Around the Mailbox
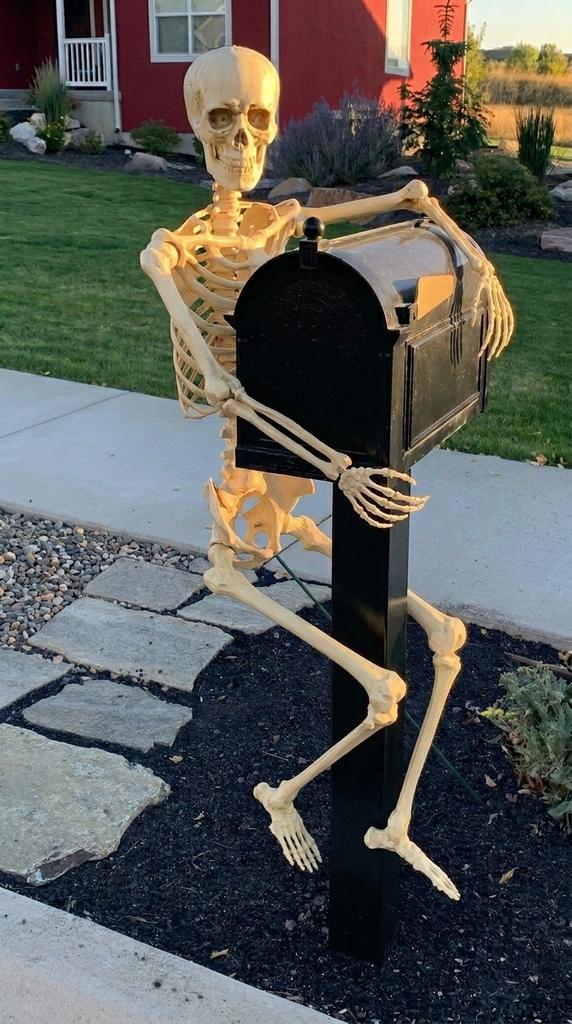
Skeleton displays are one of the easiest Halloween mailbox decorations to make look impressive without needing much decorating experience.
Use a lightweight poseable plastic skeleton and bend the arms around the post or mailbox support as though it is hanging on for dear life.
A second hand can hold an old envelope, miniature package, or plastic pumpkin bucket to create a funny little scene.
Secure the wrists, ankles, and torso with clear fishing line or black zip ties so wind does not send the skeleton down the street.
For shaded mailboxes, add battery-operated purple or orange fairy lights around the post to make the bones stand out after sunset.
A skeleton also connects the mailbox visually with other front yard Halloween decor. Place another skeleton on the porch, beside a tombstone, or sitting in a lawn chair so the whole display feels intentional rather than random.
2. Turn the Mailbox Into a Witch
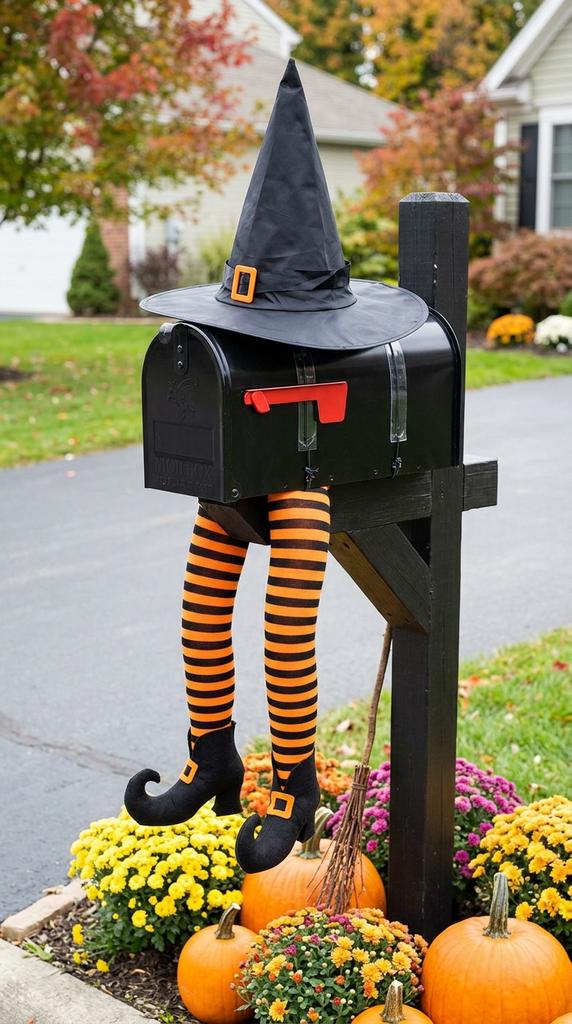
Start with a lightweight black witch hat that is wide enough to sit on top of the mailbox.
Attach it with removable outdoor mounting strips, floral wire, or fishing line so the mailbox can still be opened normally.
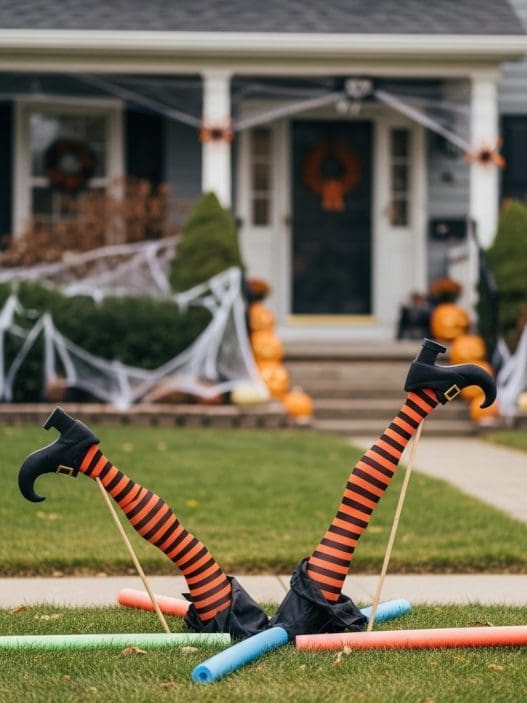
Then make two legs from orange and black striped tights stuffed lightly with plastic grocery bags or polyester filling.
Let the legs hang underneath the mailbox and finish them with inexpensive costume shoe covers or pointed felt shoes.
This type of DIY Halloween decor adds plenty of color without requiring paint or permanent changes to the mailbox.
It also looks especially cute alongside pumpkins, mums, and other fall decorations, giving the display a playful rather than frightening mood.
3. Wrap the Mailbox in Giant Spiderwebs
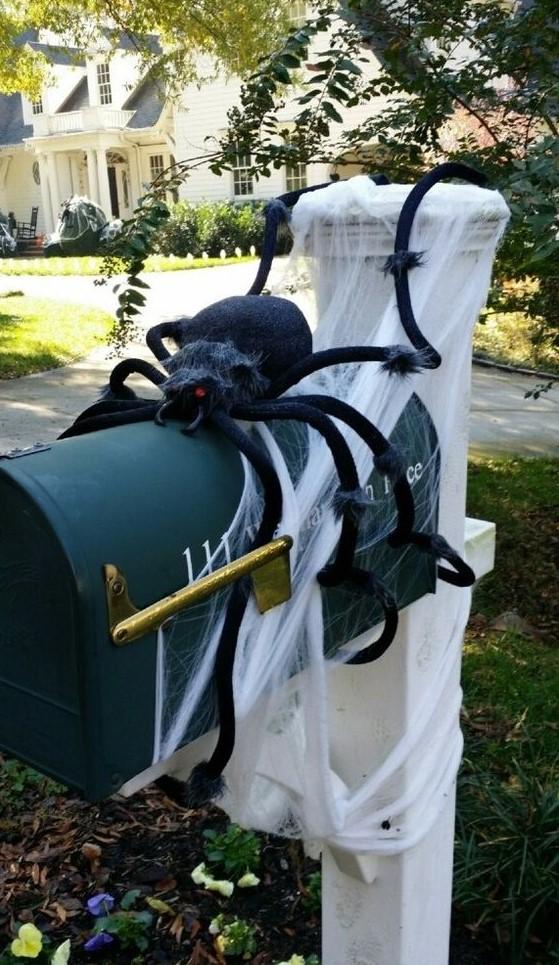
Start by stretching outdoor spiderweb material around the post, mailbox body, and nearby landscaping.
Pull the fibers apart until they become thin and irregular, since thick clumps tend to look more like cotton batting than real webs.
Add two or three plastic spiders, including one oversized spider near the mailbox door for an obvious focal point.
Black spiders create a classic creepy look, while fluorescent green or purple spiders make the idea feel more playful.
These Halloween mailbox decorations are inexpensive enough to cover a large area, making them particularly useful when decorating on a small budget.
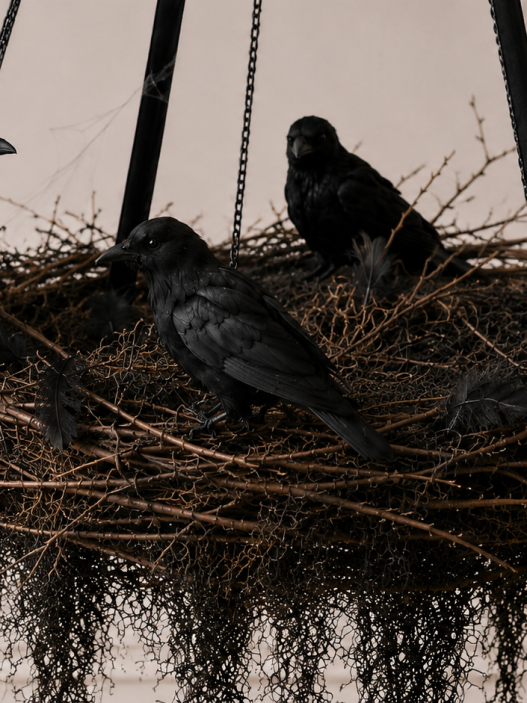
4. Add Black Crows and Ravens
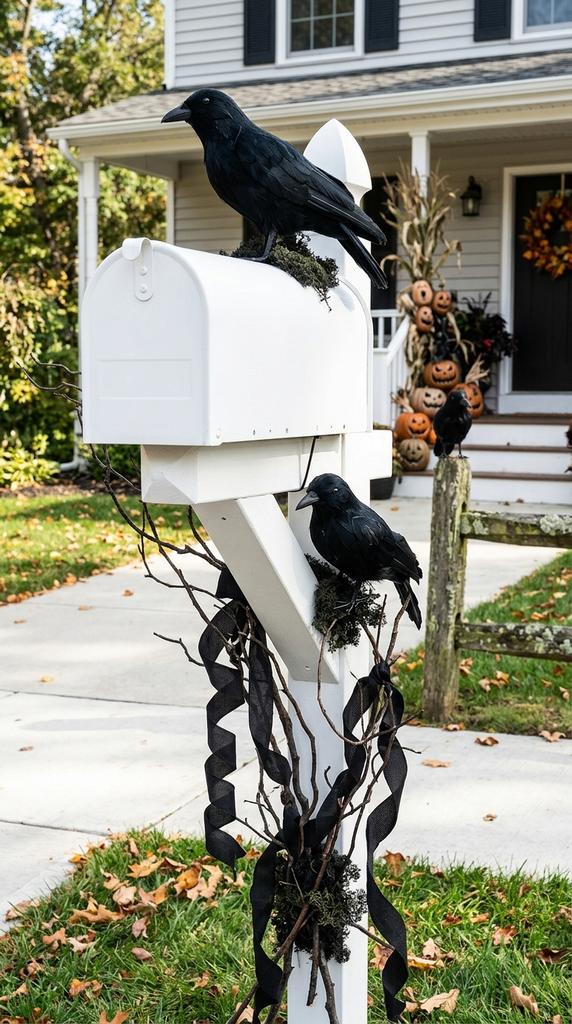
Look for lightweight artificial ravens or crows with wired feet, clips, or small mounting holes.
Place one on top of the mailbox, another on the post, and perhaps a third on a nearby pumpkin or fence.
Using different heights makes the birds look as though they have naturally gathered there instead of being lined up like ornaments.
Black birds also create strong contrast against white, brick, galvanized metal, and lighter painted mailboxes, so the idea remains visible from the road.
For beginner-friendly outdoor Halloween decor, very little assembly is needed, just secure each bird with floral wire or a reusable zip tie.
The finished look feels a little gothic and mysterious, particularly when combined with dried branches, black ribbon, or faux moss.
5. Stack Pumpkins Around the Mailbox Post
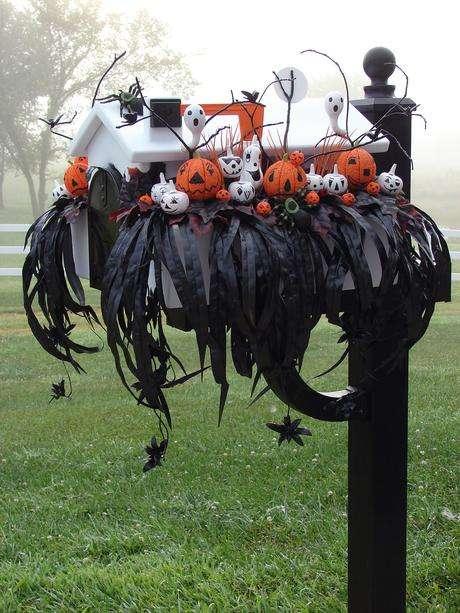
Use a mixture of orange, white, green, and black pumpkins rather than buying several identical ones.
Varying the size and shape gives the arrangement the layered look seen in professionally styled front yard Halloween decor.
Real pumpkins are lovely for a traditional display, while hollow plastic pumpkins can be reused every year and are easier to move around.
Add removable vinyl faces, black painted bats, or faux spiders when the display needs a stronger spooky Halloween feel.
Pumpkins also bridge the gap between autumn and Halloween, which means the display can go up earlier in the season without looking out of place and you can add the bats etc later on!
6. Build a Mini Haunted Cornfield Around the Post
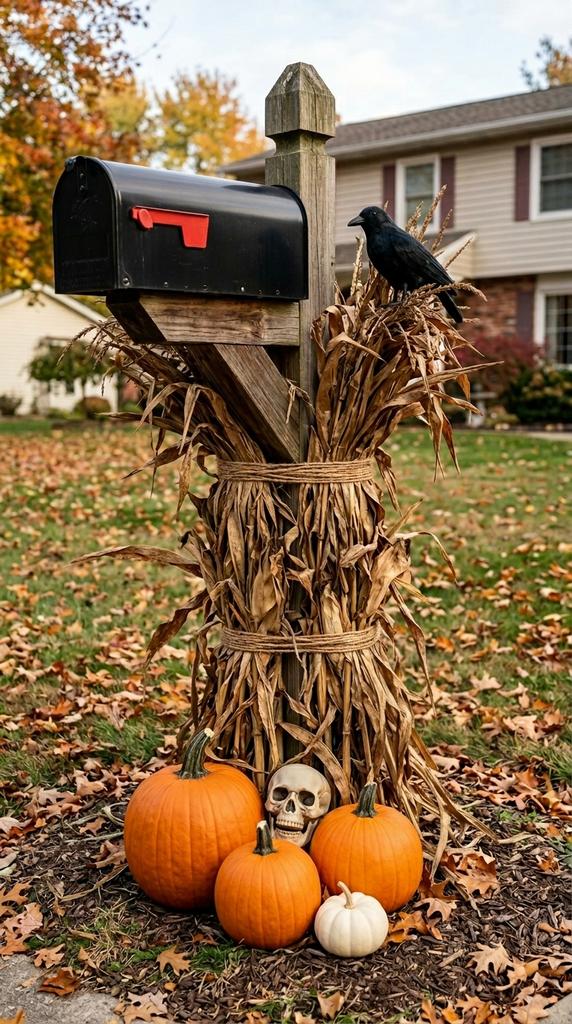
Tie two or three bundles of dried corn stalks securely around the mailbox post using jute twine or dark floral wire.
Keep the stalks below the mailbox opening so they do not interfere with normal mail delivery.
Add a few pumpkins at the base, then tuck in a plastic skull, small crow, or weather-resistant Halloween sign.
The combination has plenty of texture, with crisp dried leaves, rough twine, and smooth pumpkins making the display interesting even from a distance.
Corn stalks also make an economical backdrop because one bundle creates much more visual height than several small decorations.
7. Make a Monster Mailbox
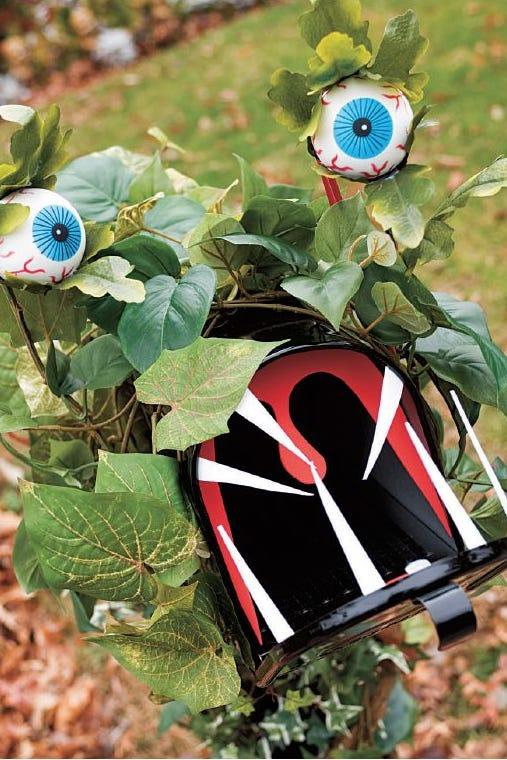
Cut large triangular teeth from weather-resistant white craft foam and attach them underneath the mailbox door with removable outdoor tape.
Add oversized plastic googly eyes or homemade foam eyes to the top, keeping hinges, numbers, and handles clear.
A red foam tongue hanging slightly from the opening makes the monster look even more ridiculous.
Bright colors help the monster remain visible from the pavement, making it a fun choice for families who prefer silly Halloween decorations instead of realistic horror props.
It can also become part of a larger monster-themed yard, with eyeball ornaments in shrubs or colorful creatures near the front steps.
8. Create a Creepy Skull and Vine Mailbox
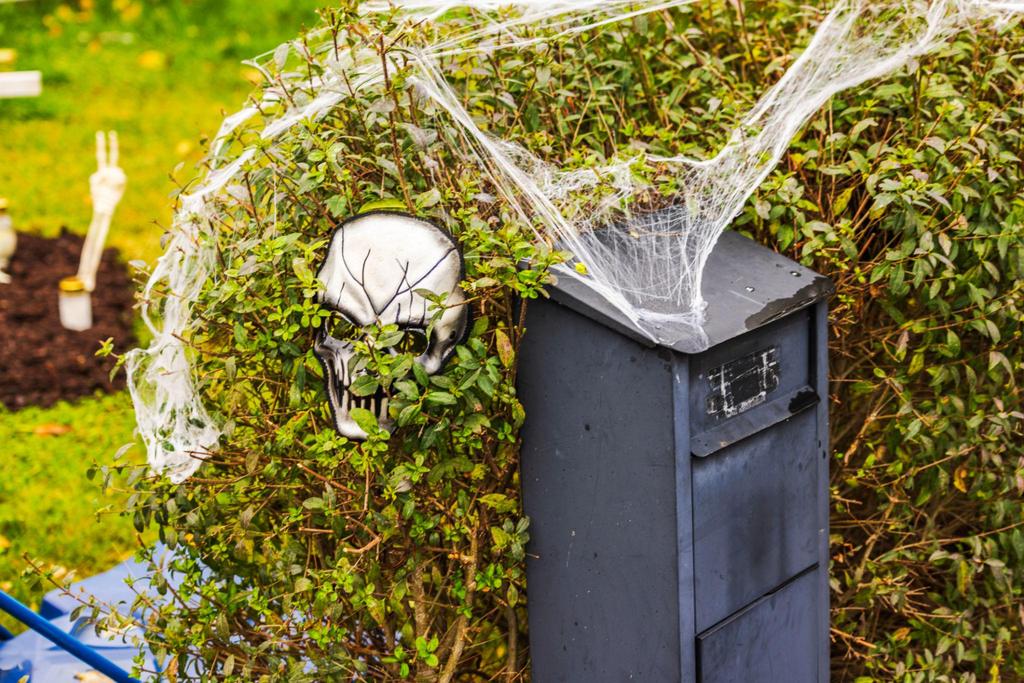
If you do not already have a real hedge by your mailbox you can begin with artificial black garland, twisted grapevine, or weather-resistant faux ivy sprayed black.
Wrap it loosely around the mailbox post instead of covering every inch, leaving a few areas of the original surface visible.
Attach small plastic skulls at different heights using floral wire, making sure the largest skull sits somewhere near eye level.
A few deep purple faux flowers or dark red artificial roses can soften the arrangement while keeping the Halloween mood.
9. Hang a Ghost From the Mailbox Post
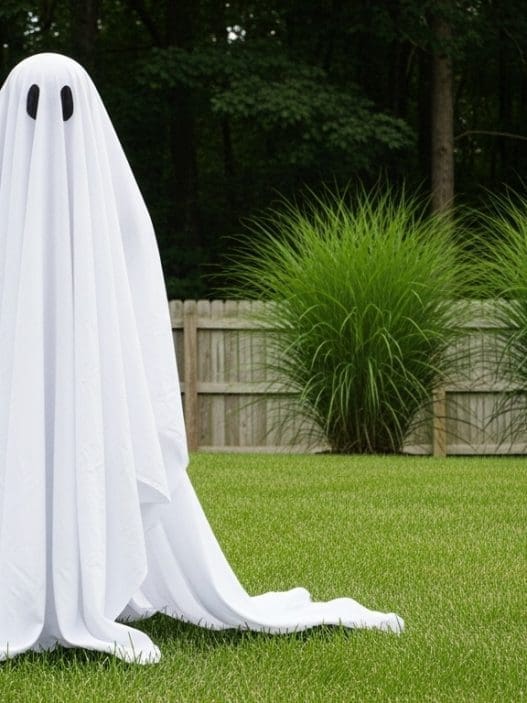
Use a white plastic tablecloth, outdoor fabric, or lightweight polyester cloth rather than a delicate indoor sheet.
Place the material over a foam ball or lightweight plastic pumpkin to form the ghost’s head, then tie it loosely underneath.
Add simple black felt or vinyl eyes and suspend the ghost from the mailbox support using fishing line.
Leaving the bottom of the fabric loose allows it to flutter whenever there is a breeze, adding movement without motors, electricity, or complicated equipment.
This is one of the cheapest Halloween mailbox decorations to make, particularly when supplies are already sitting in a craft drawer.
Two smaller ghosts can also be hung at different heights for a playful little group instead of one larger figure.
10. Create a Mailbox Bat Swarm
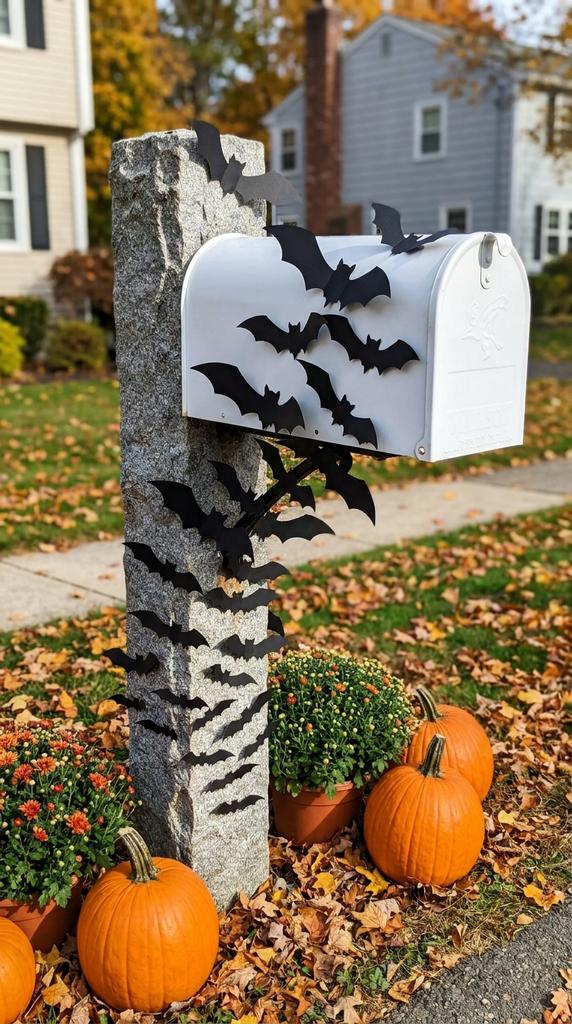
Cut several bat shapes from thin black plastic sheets, waterproof craft foam, or repurposed black plastic folders.
Make the bats in three or four sizes so the arrangement has natural movement instead of looking like a repeated pattern.
Start with small bats near the bottom of the post, then gradually use larger ones as the swarm reaches the mailbox.
Bend the wings slightly forward before attaching them, which creates small shadows and gives each bat a more dimensional appearance.
The mostly black design works beautifully with orange pumpkins, white mailboxes, stone posts, and classic outdoor Halloween decor.