


Heading to college is a major milestone, one that requires thoughtful preparation and thorough organization. Whether you’re moving into a dorm or commuting from home, we’ve compiled the most detailed, all-in-one, 50-step checklist to help you get fully college-ready. This guide includes academic prep, dorm supplies, financial organization, healthcare needs, tech tools, and more.
Starting College on the Right Foot
1. Confirming College Admission and Enrollment
Double-check that you’ve accepted your offer, paid the deposit, and submitted all required documentation.
2. Send Final High School Transcript
Ask your high school counselor to send your final transcript to your college’s admissions office.
3. Sign Up for Orientation
Register for student orientation and note important dates.
4. Meet With Your Academic Advisor
Schedule an appointment to discuss your major, classes, and academic goals.
5. Register for Classes
Enroll in required and elective courses. Look for time balance and workload distribution.
6. Purchase or Rent Textbooks
Use your syllabus to order books early—compare costs across platforms like Amazon, Chegg, and your campus bookstore.
7. Set Up Campus Email and Student Portal
Activate your school email and familiarize yourself with the student portal where you’ll manage schedules, grades, and financial info.
8. Download Academic Tools
Install apps like Grammarly, Notion, Microsoft Office (often free for students), and your campus’s LMS.
9. Review Degree Requirements
Print or bookmark a course catalog to understand the path to graduation.
10. Create a Semester Calendar
Input class times, deadlines, exams, and orientation into a digital calendar.
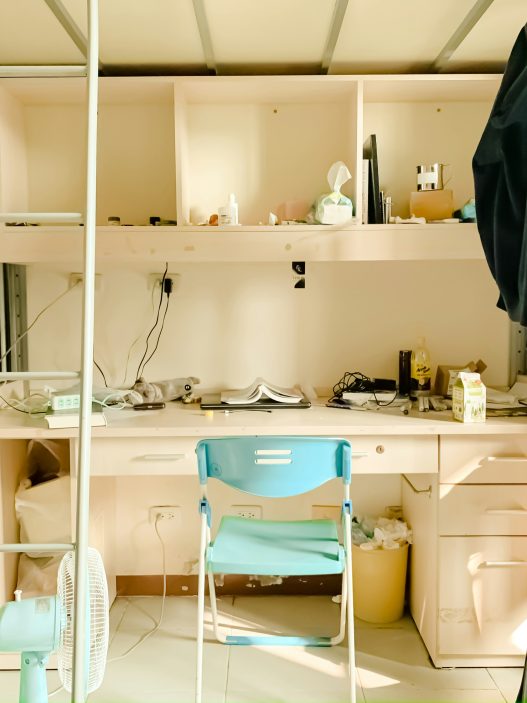
Dorm Room Essentials
11. Twin XL Bedding
Pack 2–3 sets of twin XL sheets, a comforter, mattress pad, pillows, and a waterproof protector.
12. Towels and Shower Gear
Bring at least two bath towels, hand towels, a shower caddy, flip-flops, and toiletries.
13. Laundry Supplies
Get a laundry basket, detergent, dryer sheets, stain remover, and quarters or a laundry card.
14. Cleaning Supplies
Include disinfectant wipes, paper towels, a mini vacuum, and hand sanitizer.
15. Clothing for All Seasons
Pack for warm and cold weather, including rain gear, formalwear, and casual clothes.
16. Closet Organization
Use hanging shelves, shoe racks, and under-bed storage bins to maximize space.
17. Desk Supplies
Include notebooks, pens, pencils, a stapler, scissors, tape, folders, and index cards.
18. Lighting
Bring a desk lamp and some ambient lighting (e.g., string lights) if allowed.
19. Alarm Clock or Smart Speaker
Wake up on time and manage your schedule with a smart device or basic alarm clock.
20. Room Décor
Make the space your own with posters, rugs, photos, and other personal touches.
Food & Kitchen Essentials
21. Mini Fridge and Microwave
Check dorm policies and purchase compact appliances if allowed.
22. Reusable Dishware
Includes bowls, plates, utensils, mugs, and a travel coffee cup.
23. Non-Perishable Snacks
Stock up on granola bars, instant oatmeal, trail mix, and microwave popcorn.
24. Refillable Water Bottle
Hydrate sustainably with an insulated or filtered water bottle.
25. Coffee Maker or Kettle
Essential for tea drinkers and caffeine lovers.
Tech & College Work Checklist
26. Laptop or Tablet
Choose a reliable device with specs suited to your major. Back it up regularly.
27. Surge Protectors and Extension Cords
Dorms often have limited outlets, protect your electronics with surge strips.
28. Noise-Canceling Headphones
Ideal for studying or tuning out distractions.
29. External Hard Drive or Cloud Storage
Back up your assignments and projects frequently.
30. Printers (Optional)
While many campuses offer printing stations, some prefer the convenience of a personal printer.
Financial Organization
31. Open a Student Bank Account
Set up a checking/savings account with minimal fees and online access.
32. Create a Budget
Plan monthly spending categories for food, entertainment, supplies, and savings.
33. Understanding Your Financial Aid
Read your award letter carefully and understand the terms of any loans or grants.
34. Apply for Work-Study or Campus Jobs
Check your eligibility and apply early, especially for competitive on-campus roles.
35. Get a Credit Card (If Responsible)
Start building credit with a student card—always pay it off in full.
Health & Safety Prep
36. Schedule Doctor & Dentist Appointments
Take care of health check-ups, vaccines, and prescriptions before moving in.
37. Understand Campus Health Services
Locate a health center and find out what services are covered.
38. Fill or Transfer Prescriptions
Ensure a 30–90 day supply of any necessary medication.
39. Pack a First-Aid Kit
Include pain relievers, bandages, cold meds, allergy meds, and any personal prescriptions.
40. Update Health Insurance Info
Provide your insurance card and confirm coverage while on campus.
Administrative Tasks
41. Submit Housing Forms
Complete your housing agreement, meal plan selection, and roommate questionnaire.
42. Upload Student ID Photo
Submit your photo by the deadline to get your ID card ready at move-in.
43. Check Immunization Records
Ensure your vaccine history meets college requirements (MMR, meningitis, etc.).
44. Sign FERPA Waiver (Optional)
Allow trusted individuals (like parents) access to academic records if desired.
45. Set Up Emergency Contacts
List emergency contacts in both your student portal and your phone.
Transportation & Travel
46. Plan Move-In Day Logistics
Reserve a time slot if needed, know the parking rules, and bring help if possible.
47. Check Local Transportation
Familiarize yourself with campus shuttles, bike rentals, and bus systems.
48. Bring a Bike or Scooter
Compact, eco-friendly transportation for navigating large campuses.
49. Look Into Car Rules
If bringing a car, review parking permits, registration, and insurance.
50. Download Maps and Navigation Apps
Save campus maps, local transit apps, and Google Maps for offline use.
Our Readers’ Commonly Asked Questions
Take a look below at our readers’ commonly asked questions around dorms!
What’s a dorm room?
A dorm room—short for “dormitory room”—is a small living space provided by a college or university, typically on or near campus, where students live during the academic year. Dorm rooms are usually shared between one or more students and come furnished with basic items like a bed, desk, chair, and dresser. They are designed to be functional and compact, offering a convenient place to sleep, study, and store personal belongings while living within a student community.
Why planning your dorm room essentials is important
Planning your dorm room essentials in advance helps ensure a smooth and stress-free transition to college life. Dorm rooms often have limited space, so packing only what you need is critical. Having the right items from day one means you can focus on settling in, meeting new people, and starting classes instead of running to the store for forgotten necessities. Proper planning also prevents overpacking and helps keep your living space organized and comfortable.
Why you should check with dorm authorities before bringing appliances or large items
Each college dorm has its own set of rules and safety regulations about what students can and can’t bring. Items like microwaves, mini fridges, heaters, and extension cords may be restricted due to fire hazards or energy limitations. Oversized furniture or certain electronics may not fit or be allowed. Checking with housing authorities before packing ensures you’re in compliance with campus policies, avoid fines, and make the most of your space without the hassle of returning or storing banned items.
What to consider when packing for your new dorm room
When packing for your dorm room, think in terms of functionality, comfort, and space efficiency. Prioritize multi-use items and essentials like bedding, toiletries, school supplies, and storage solutions. Consider the climate, the layout of your room, and what your roommate is bringing to avoid duplicates. Also, factor in how you’ll transport everything—pack in bins or bags that are easy to carry. Lastly, leave room for personal touches like photos or decorations to make the space feel like home.